Managing Appointments
This document provides a comprehensive guide on how to manage appointments within the Carrick Health system. Users can easily navigate the Appointments page to set appointments as no-shows, confirm them, or edit various details such as time, type, location, or physician.
Accessing the Appointments Page
Once appointments have been created, they can be managed on the Appointments page. To locate a specific appointment, utilize the date picker located at the top center of the screen to select the desired appointment date. The subsequent steps will vary based on the viewing mode of the appointment list.
List View
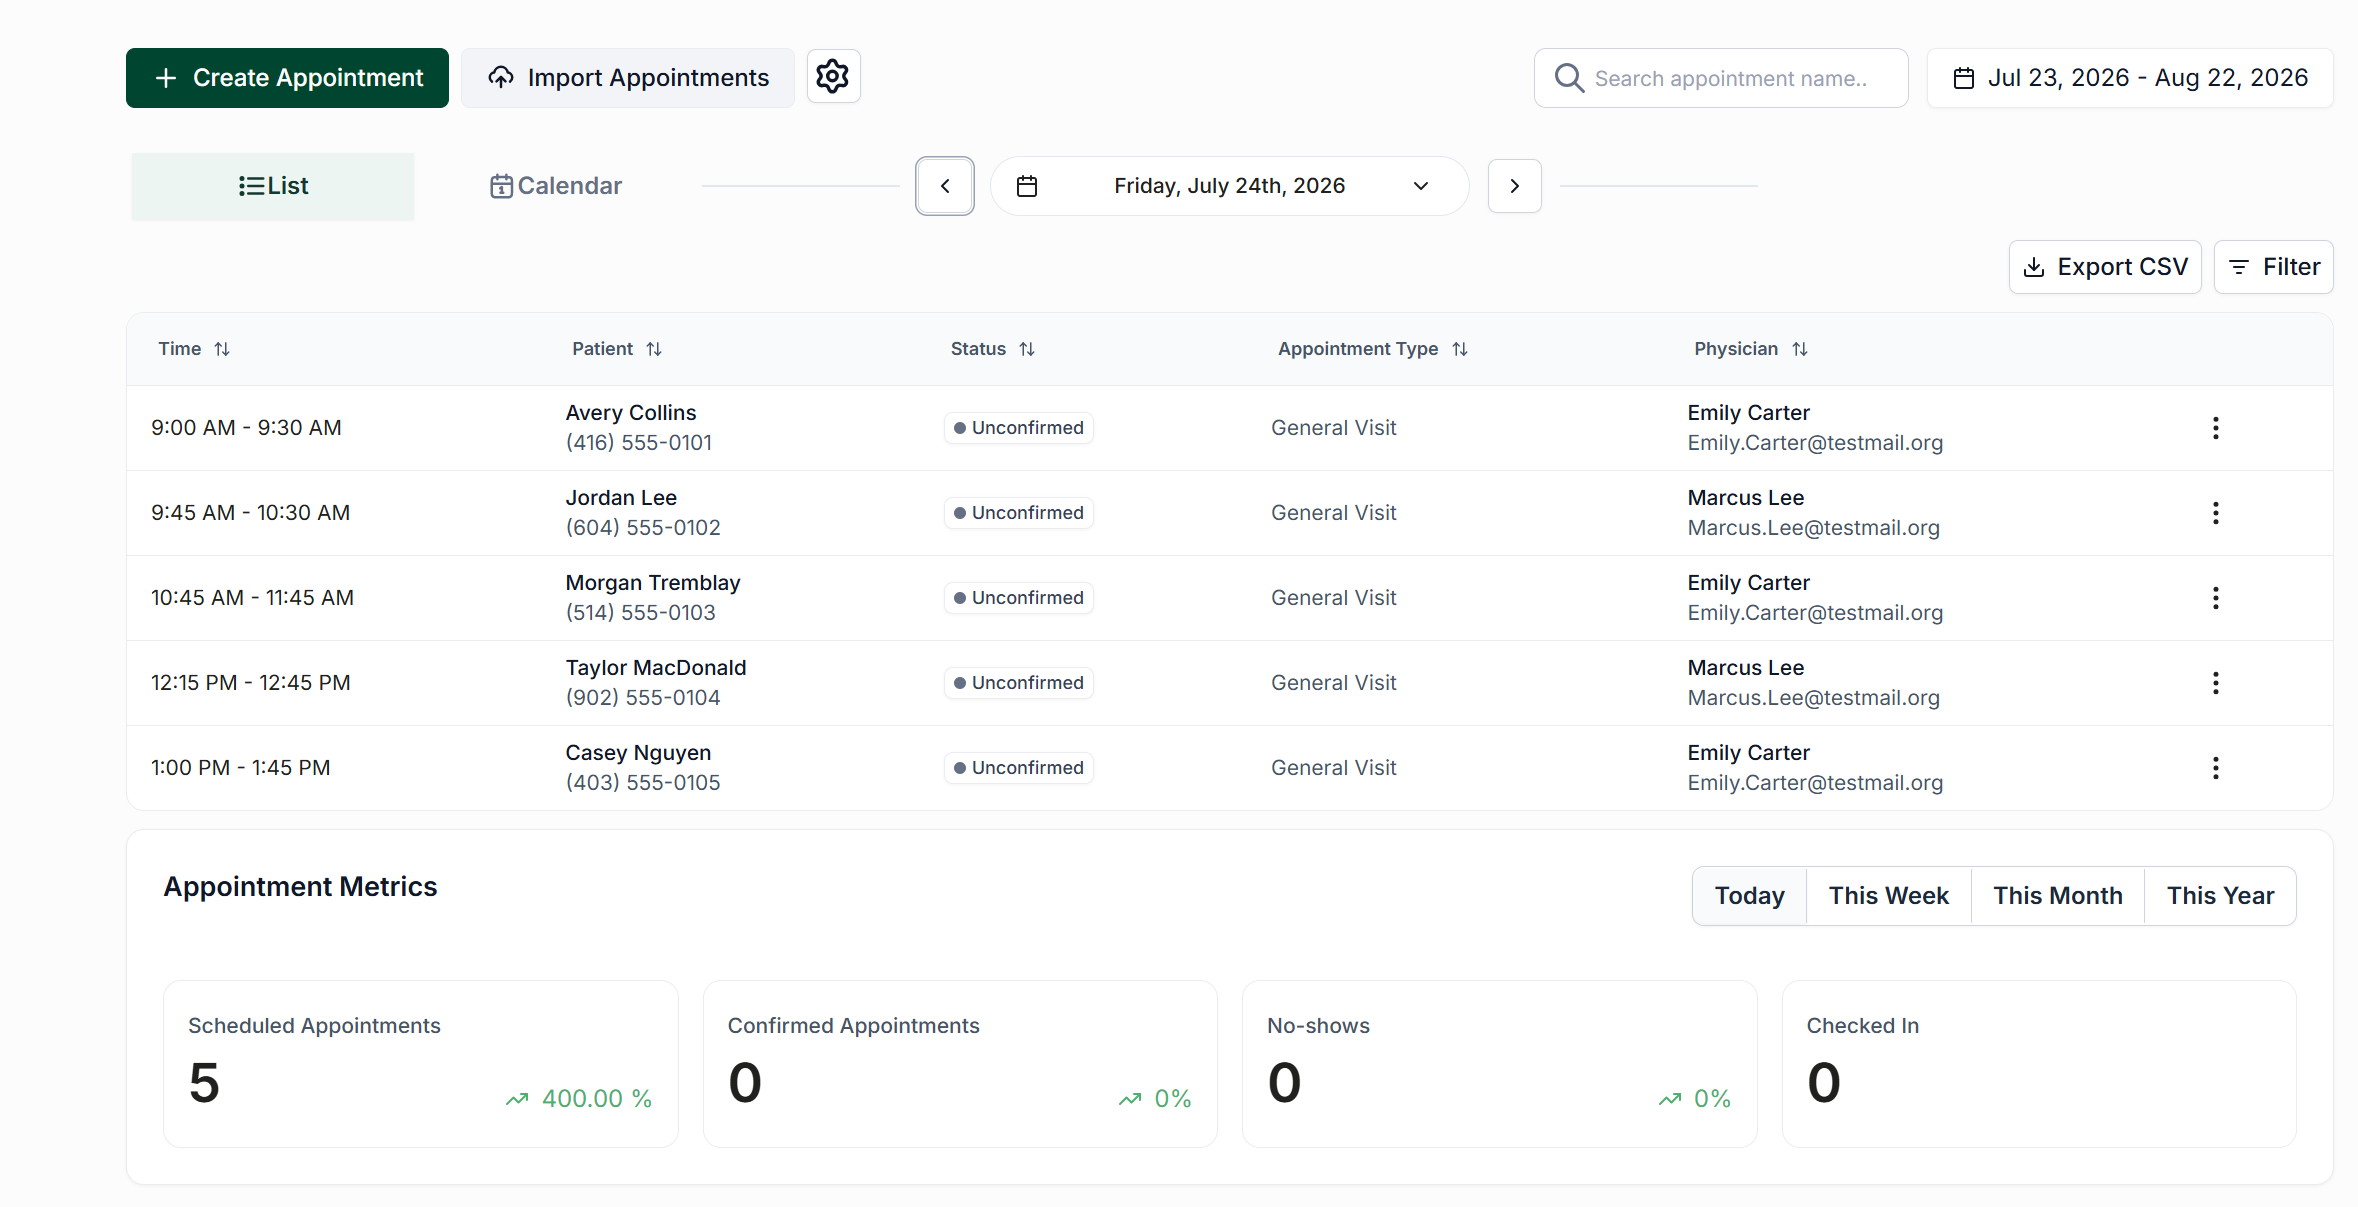
In List View, you can scroll through the appointments to find the one you wish to edit. By default, the list is sorted by appointment time; however, it can be rearranged based on any other field in the table. Once you locate the desired appointment, click the three-dot menu on the right side of the appointment entry to access options for editing, marking the appointment as a No-Show, or confirming the appointment.
Calendar View
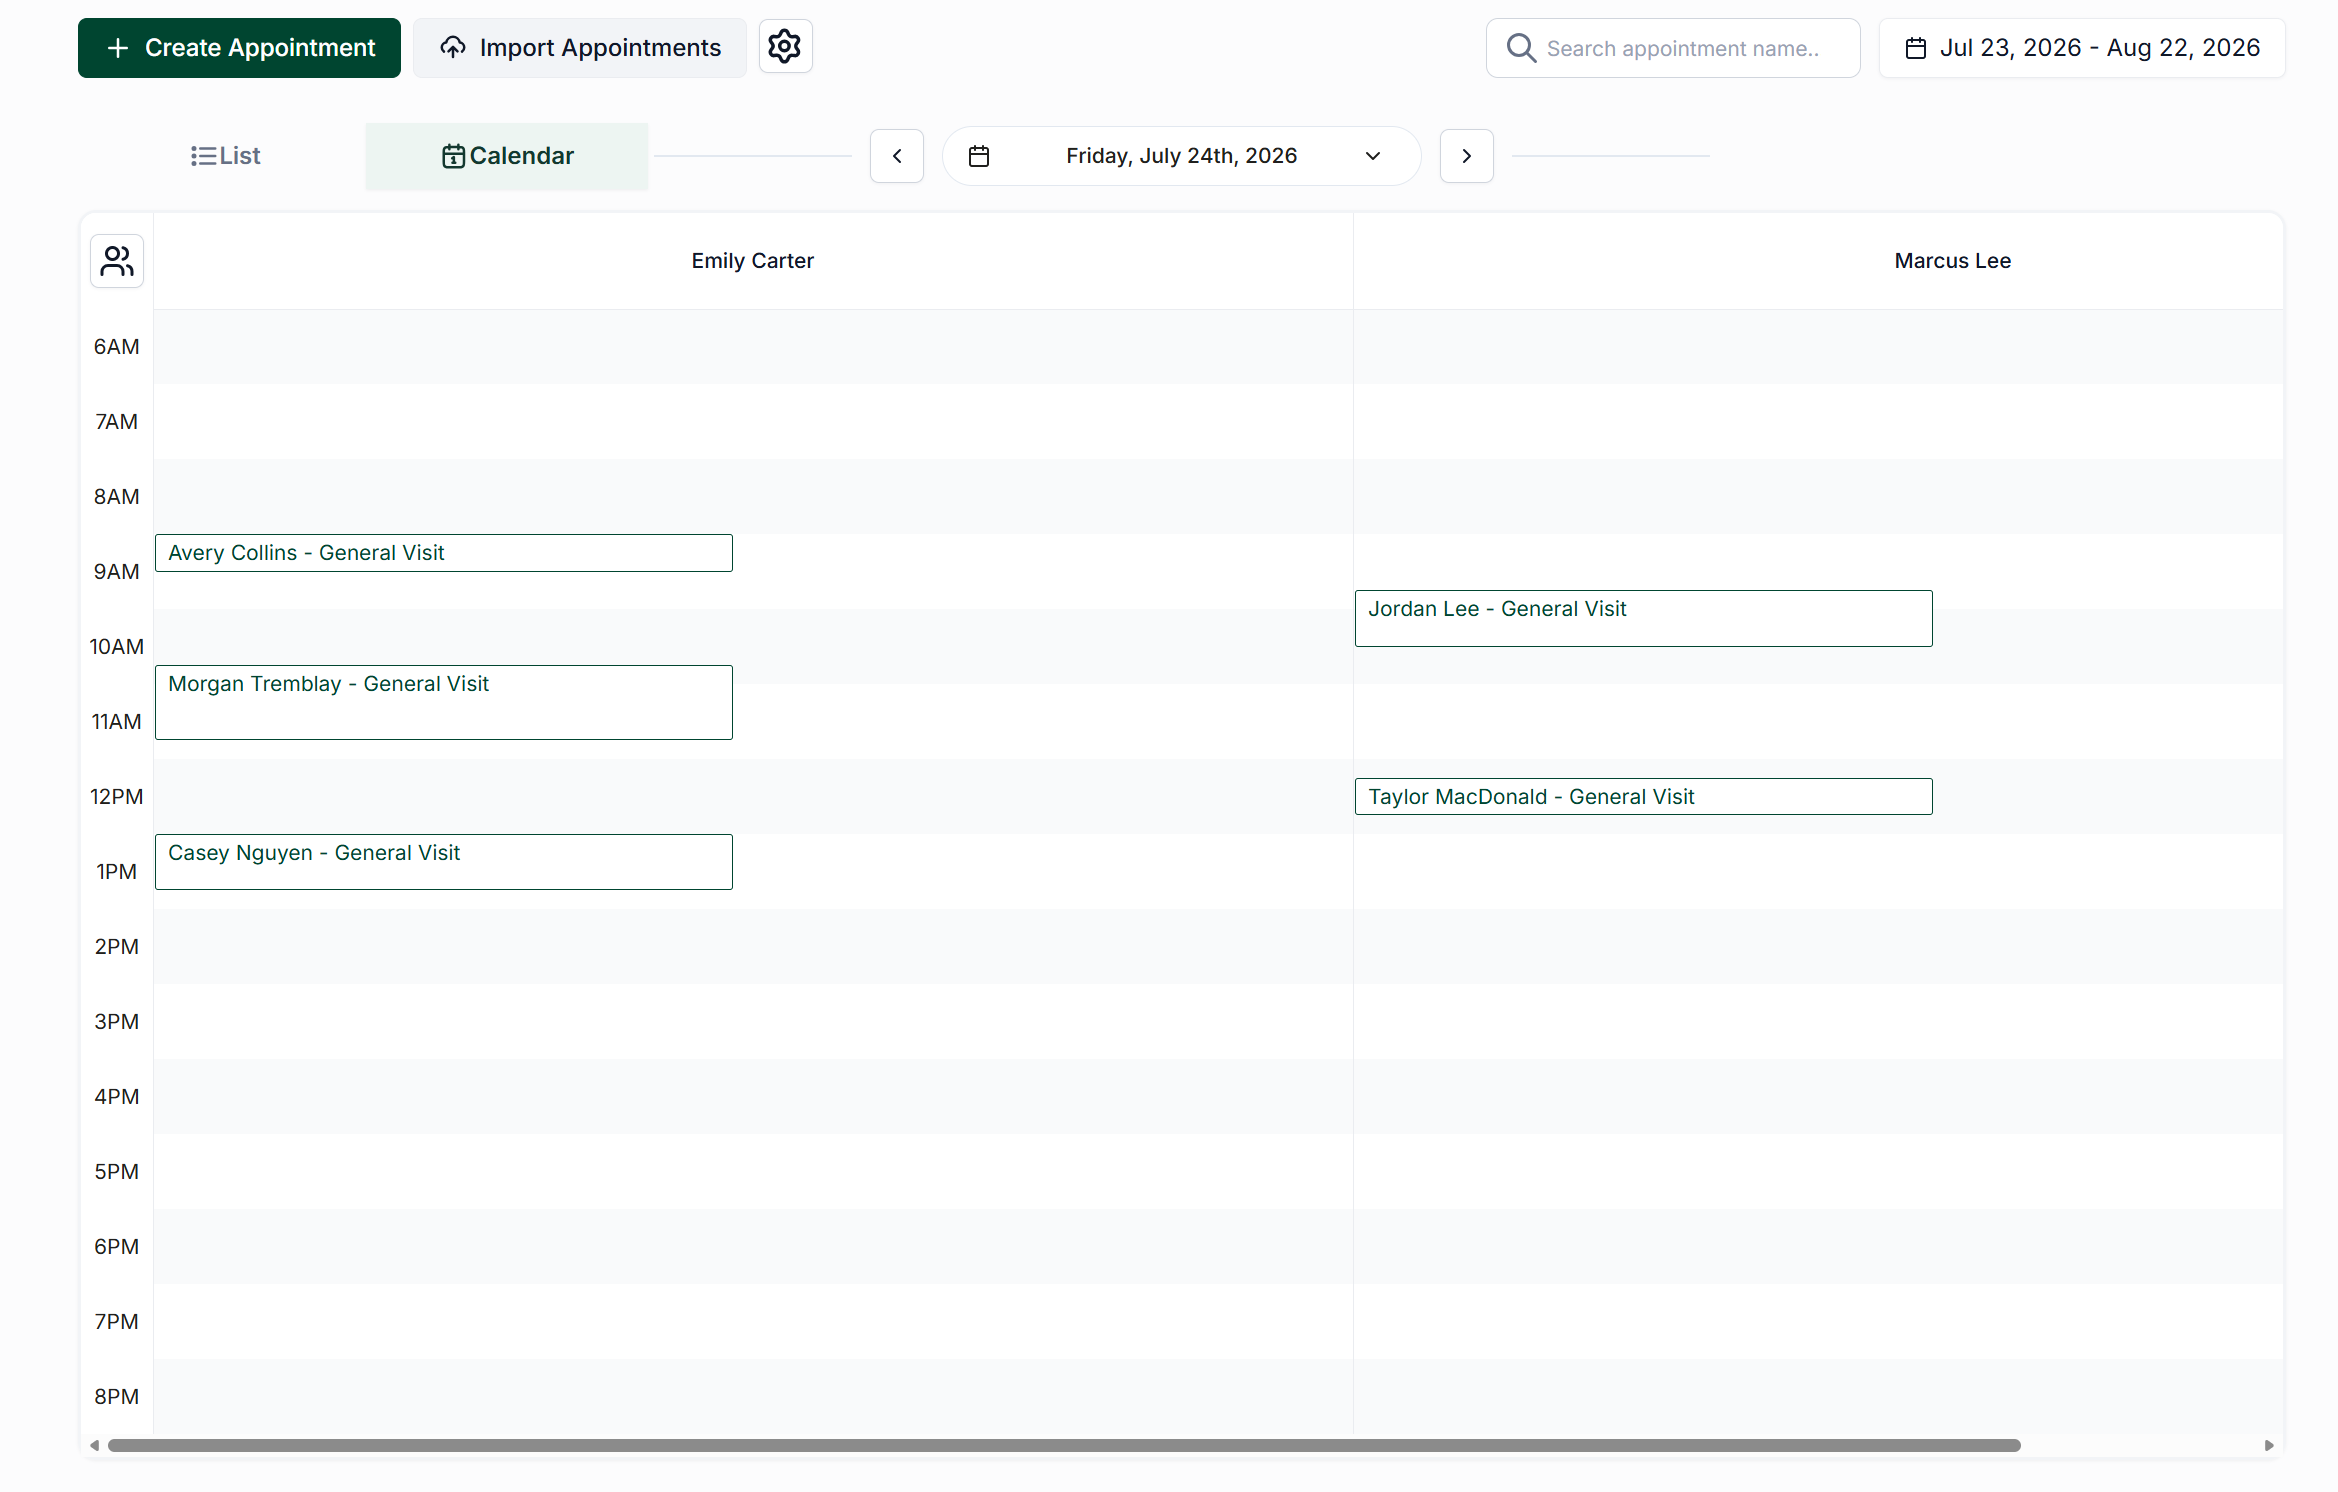
In Calendar View, appointments are displayed according to their scheduled times. To find a specific appointment, look for the row corresponding to the appointment time under the name of the physician with whom the appointment is scheduled. Once you have identified the appointment, click on it to open the appointment details. In the top right corner of the appointment details window, you will find a three-dot menu that allows you to edit the appointment, mark it as a No-Show, or confirm it.