
Contact Importer
Importing contacts to Carrick Health is a straightforward process that can be accomplished using our Contact Import tool. This guide will walk you through the steps necessary to import your contacts efficiently.
Getting Started with Contact Import
To import your contacts in bulk, you will need a CSV file containing the relevant contact information. The only mandatory fields are the Name and Phone number, although you may include additional information if desired.
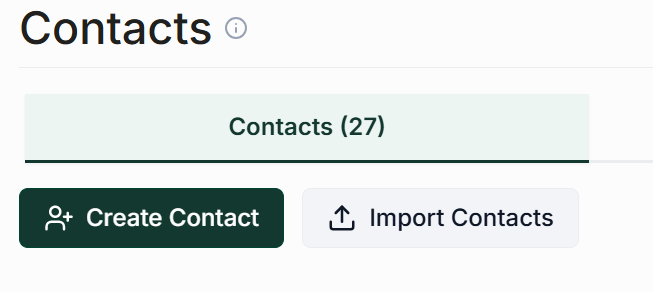
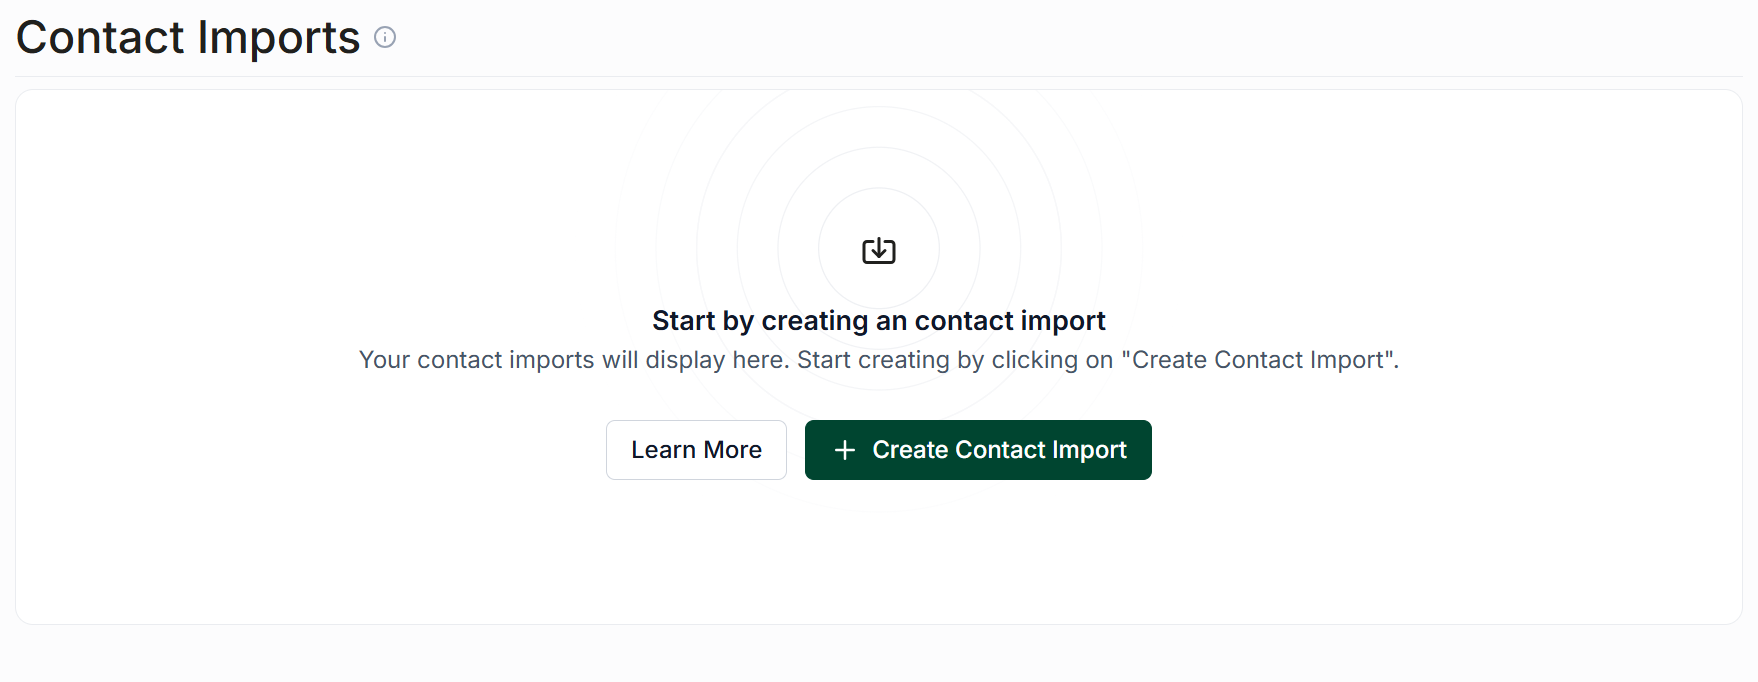
To begin, navigate to the Contacts page from the sidebar and click on the Import Contacts button. This action will direct you to the import history page. To initiate a new import, click the Create Contact Import button located under the heading.
Steps to Import Contacts
Step 1: Upload File
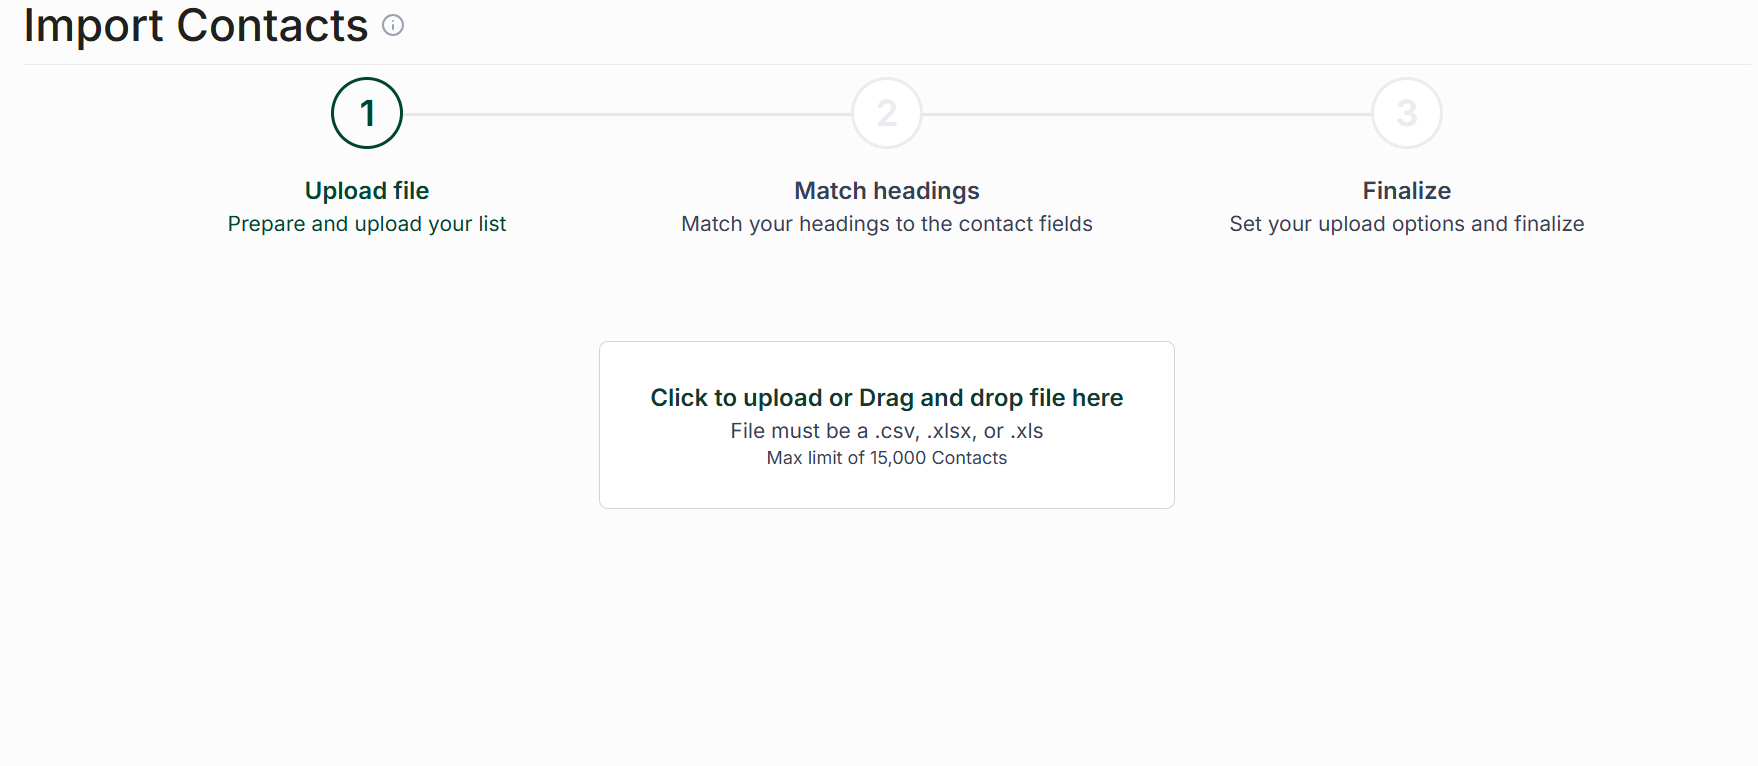
From the Import Contacts page, click the prominent button in the center of the screen to browse for your CSV file. Once you select the file, you will proceed to the second step of the import process, which involves matching headings.
Step 2: Match Headings
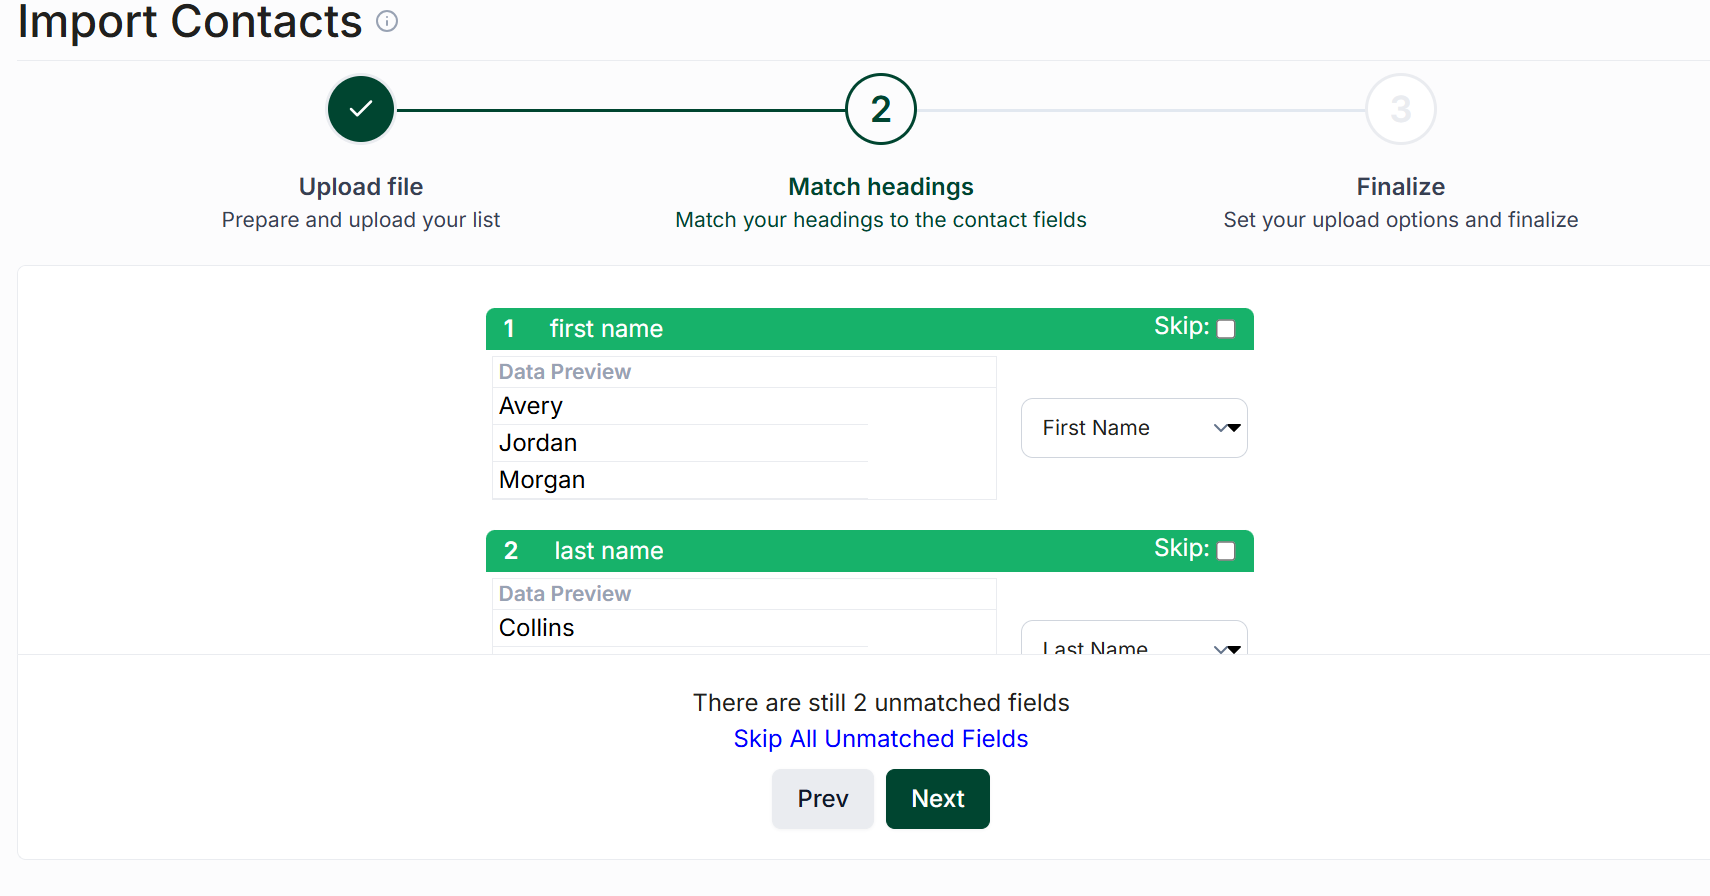
In this step, each heading found in your CSV will be displayed in a block, along with the first three rows of data in that column to assist you in matching it to a field in Carrick. If there are any headings you wish to exclude from the import, check the Skip checkbox located at the top right side of each heading block.
The only required fields are Full Name (or First & Last Names) and Phone number. By default, you will also find options to store Email, Unique ID, Fallback Phone, Area Code, Base Phone Number, Tags, Linked Users, Address, State, City, Country, and Zip code. Additionally, you will have the option to map to any existing custom fields you have created or to create a new field.
Please Note: Any date fields must be formatted as YYYY-MM-DD to ensure a successful import.
The Tags field is unique in that any data in that column will be converted into Tags and applied to the contacts as they are created. You can assign multiple tags per contact by separating them with commas, but ensure they remain within the same column.
Once you have mapped or skipped all relevant fields, click the Next button to proceed to the final step.
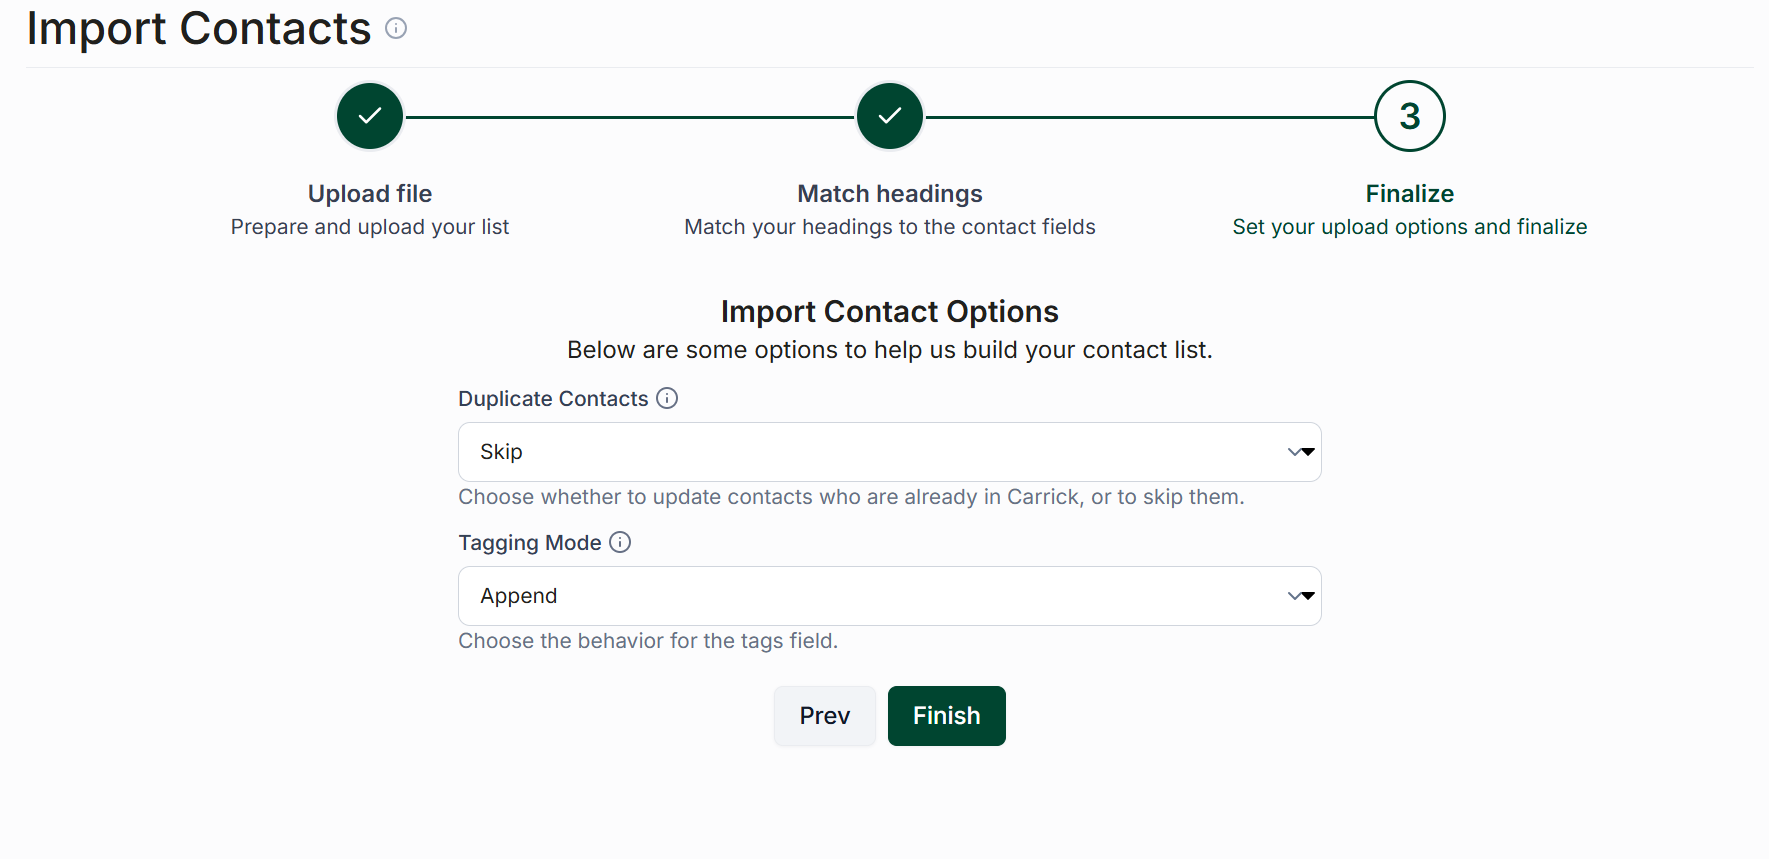
Step 3: Finalize
To complete your import, you will need to select the following settings:
Duplicate Contacts: This option allows you to determine how Carrick handles duplicate phone numbers that already exist as contacts. You can choose between Skip, which disregards the new data and retains the old information, or Update, which updates the existing contact with the new information from the CSV.
Tagging Mode: This option controls the tag behavior for contacts that already exist in Carrick but are also included in the CSV. You can select Append to add new tags to the existing list or Overwrite to replace existing tags with those found in the CSV.
After selecting your options, click Finish to initiate the import process. Please note that importing contacts may take some time, depending on the size of your list. You will receive an email notification once your import is complete.
Viewing Import Data
Upon completion of the import, you can view the details on the Import History page. To access this, return to the Contacts page from the left side navigation pane and click on Import Contacts. You will see a table displaying information about all completed imports.
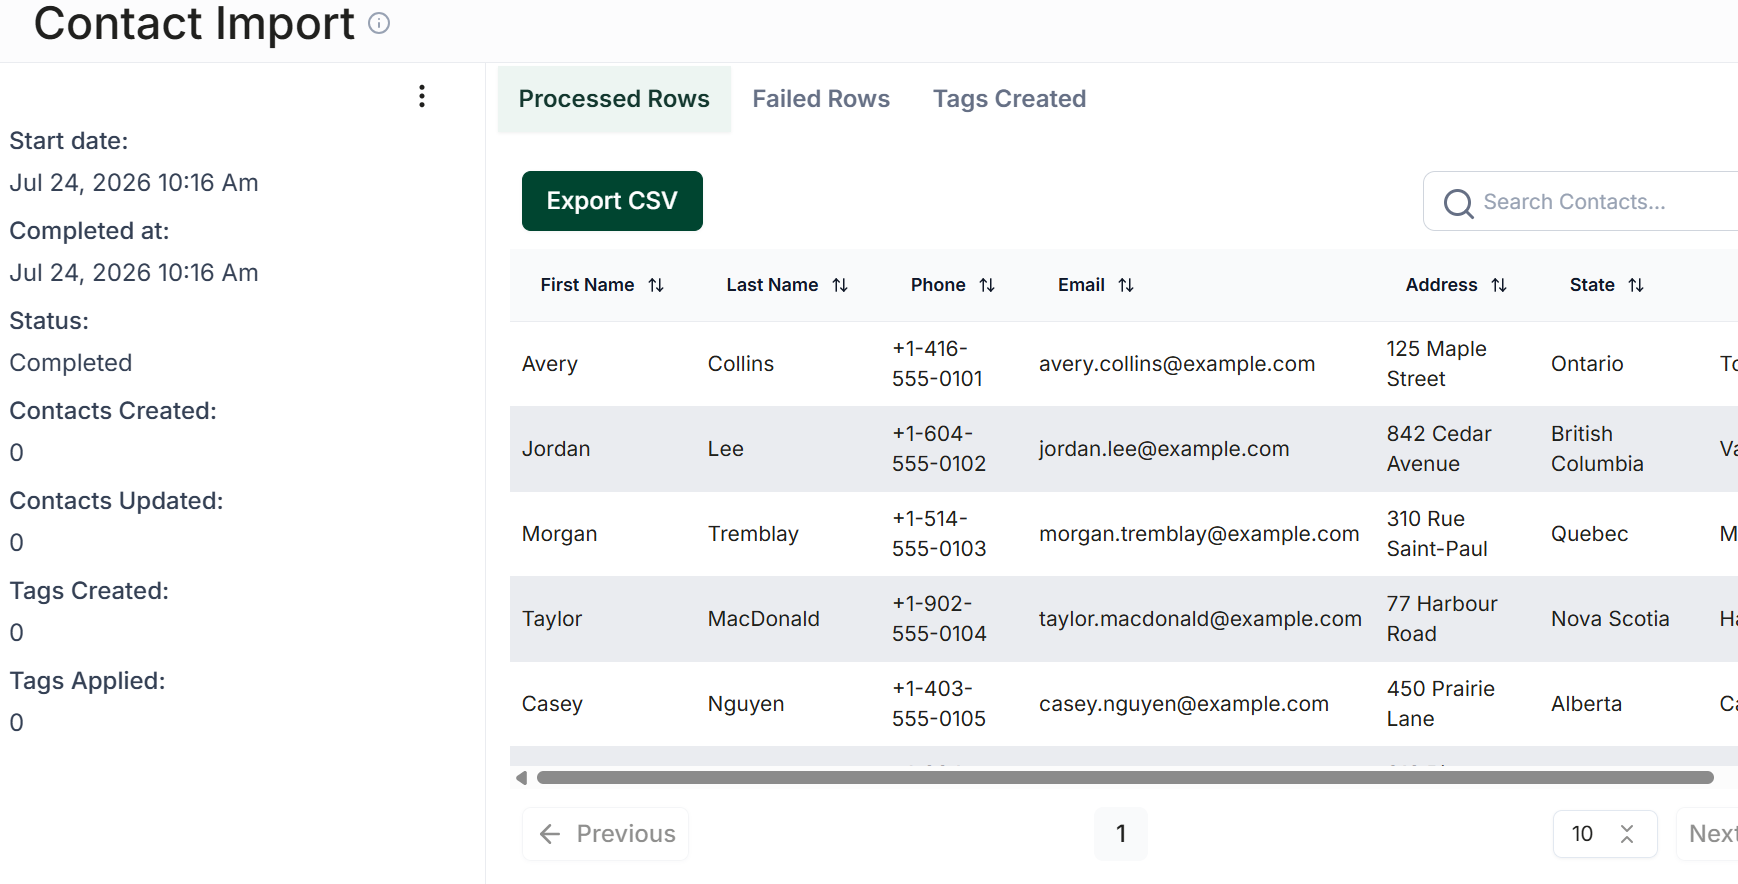
By clicking on an import from this table, you can view its current status. If the import is complete, you will see statistics such as the number of contacts created or updated and the number of tags created or applied.
A table will also be displayed on this page containing the contacts that were imported. If any contacts could not be added, a second tab will show the Failed Imports along with the reasons for failure. You can download either table as a CSV file to attempt re-uploading the contacts.
If you wish to add tags or delete contacts from this import in bulk, options for these actions can be found in the three-dot menu located at the top left side of the screen.