Contact Fields
Contact Fields are essential tools that allow you to enhance the information stored about your contacts within the Carrick Health system. While the default fields include basic information such as name, address, email, and phone number, Contact Fields enable you to add additional details that can be utilized for personalized messaging and segmentation. This document outlines the various types of Contact Fields available, how to view them, and the steps to create new fields.
Types of Contact Fields
There are five distinct types of Contact Fields that you can utilize:
Drop Down Contact Fields: These fields provide a limited selection of valid inputs, allowing users to choose from predefined options.
Number Contact Fields: These fields accept only numerical inputs, ensuring that the data entered is strictly numeric.
Checkbox Contact Fields: These fields have two states: checked or unchecked, representing true or false values.
Date Contact Fields: These fields are designed to store date values, such as birthdays or signup dates.
Text Contact Fields: These fields are more flexible, allowing you to store any type of text as the value.
Viewing Contact Fields
To view all of your contact fields, follow these steps:
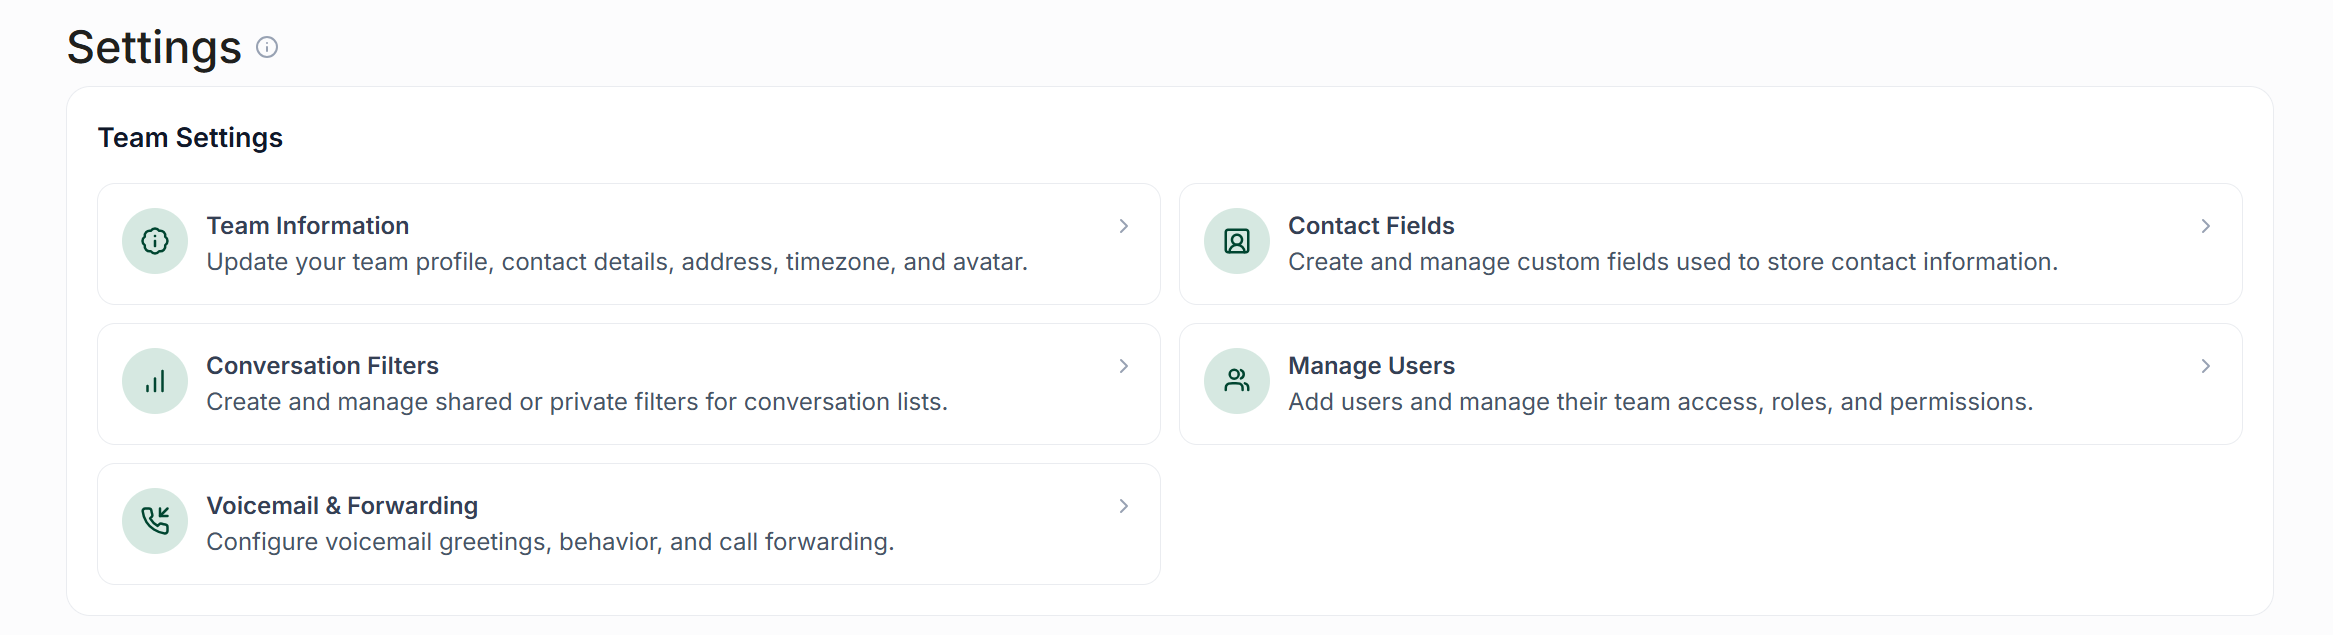
Click on your name located at the top right corner of the screen.
Select Settings from the dropdown menu.
Choose Contact Fields under the Team Settings section.
Creating Contact Fields
To create a new Contact Field, please follow these instructions:
Navigate to the Contact Fields page by clicking your name at the top right corner, selecting Settings from the dropdown, and then selecting Contact Fields under Team Settings.
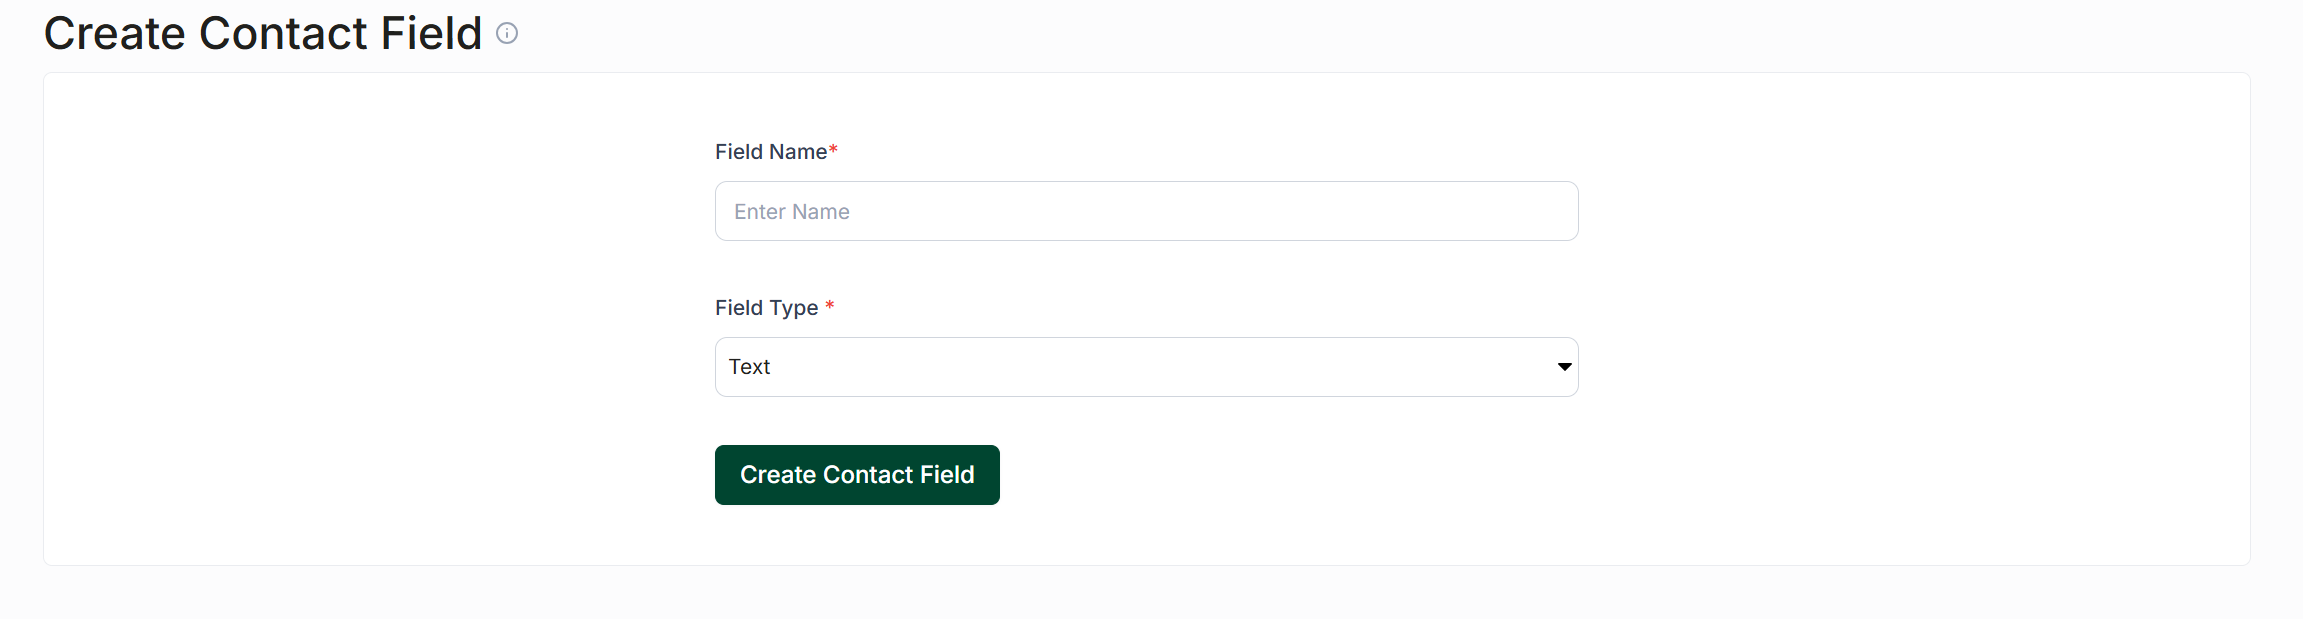
Click the Create Contact Field button to initiate the creation process.
Enter the Field Name and select the type of field. For drop down fields, list each selection on a new line in the Field Options text area.
Once you have completed the field name, selected its type, and filled in the options for drop down fields, click Submit to save your new Contact Field.