Tags
Tags are an essential feature for organizing and labeling contacts within our system. They allow users to categorize contacts effectively and automate the application of these tags through our message automation tools. This document provides a comprehensive guide on how to view, create, and manage tags for your contacts.
Viewing Tags
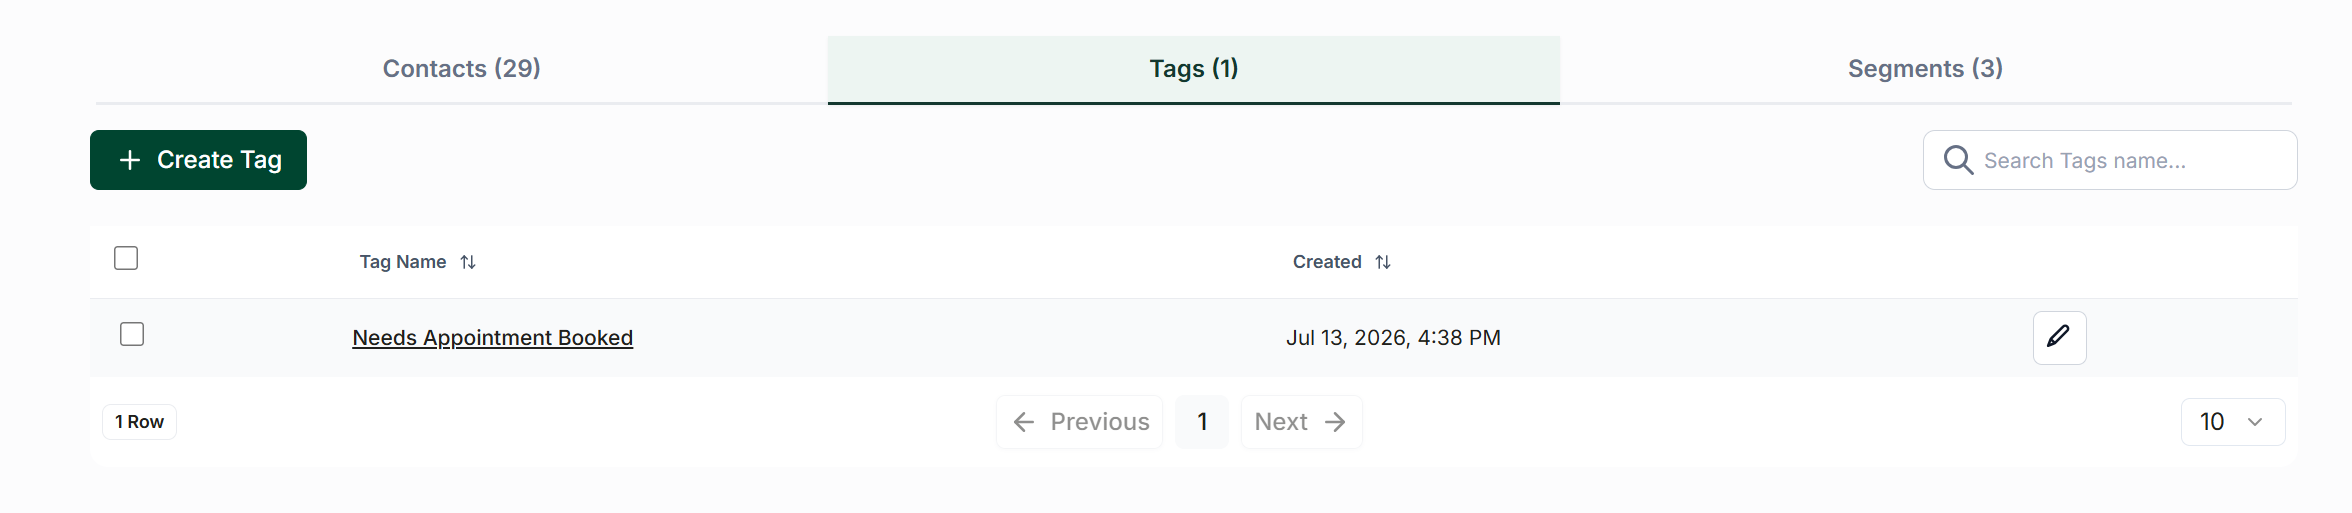
To view your list of tags, navigate to the Contact page from the left side navigation bar. Once there, select the Tag tab located just below the heading. This will display all the tags you have created.
Creating Tags
To create a new tag, click the Create Tag button located at the top right corner of the tag table.
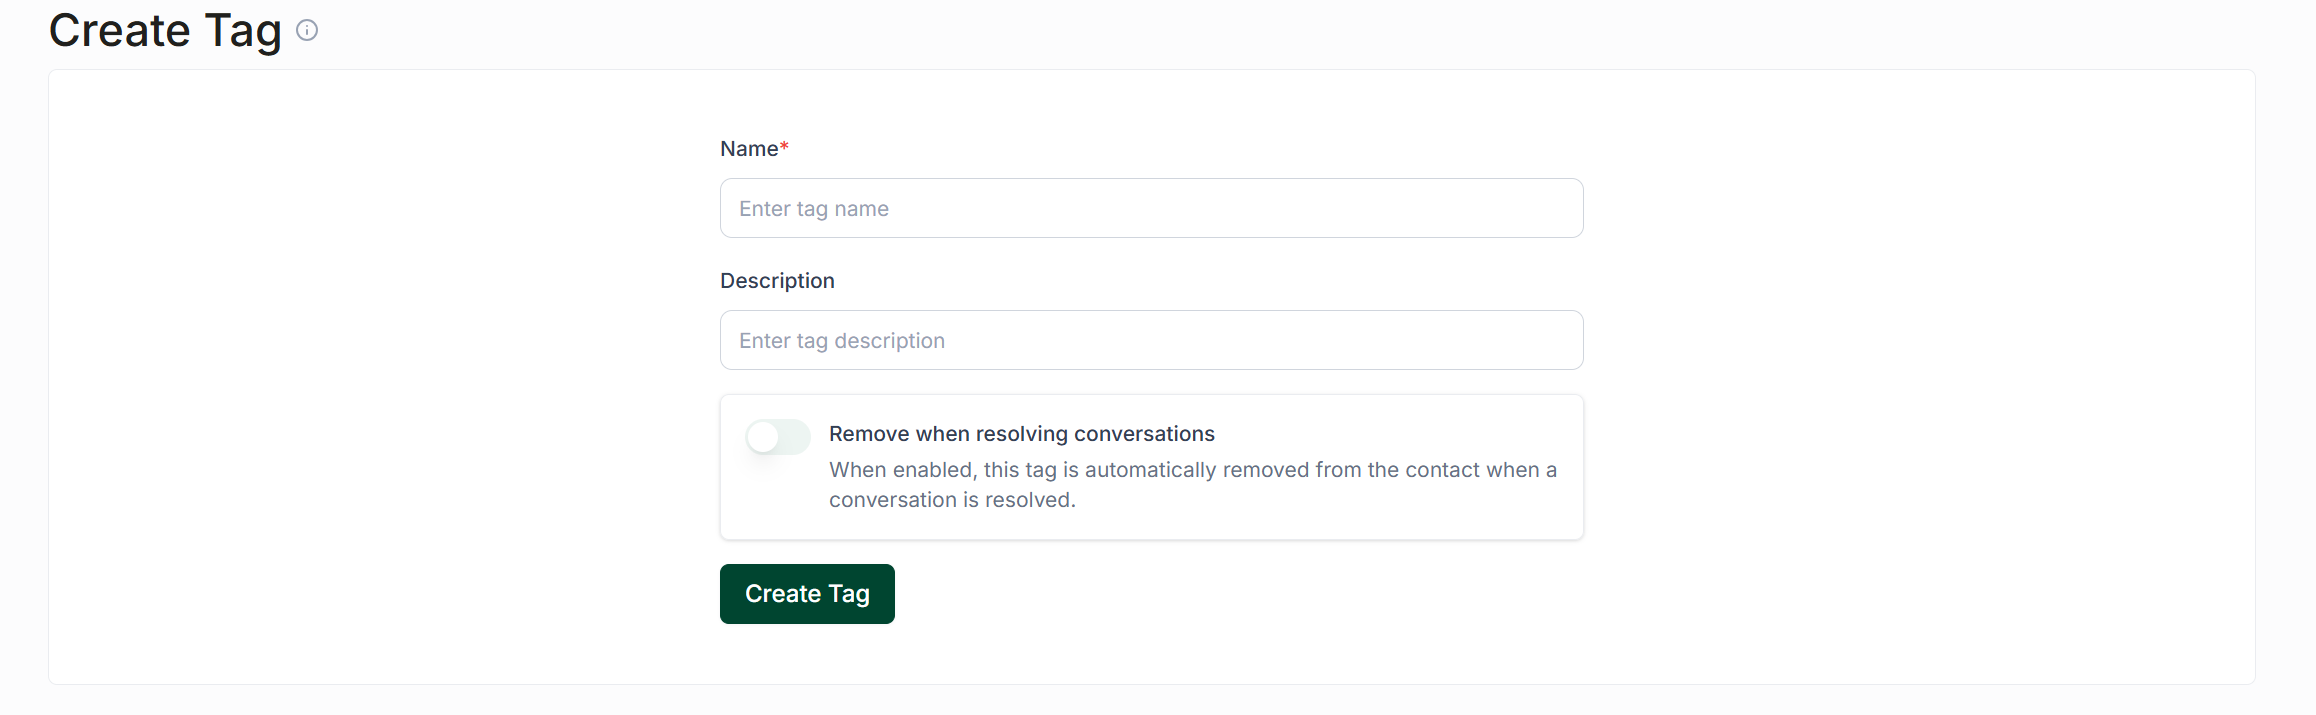
Each tag must have a name, and you have the option to include a description. Additionally, you can choose to allow a tag to be automatically removed from a contact once their conversation is resolved by checking the corresponding option. After entering the necessary information for your tag, click the Create Tag button to finalize the creation process.
Adding Contacts to a Tag
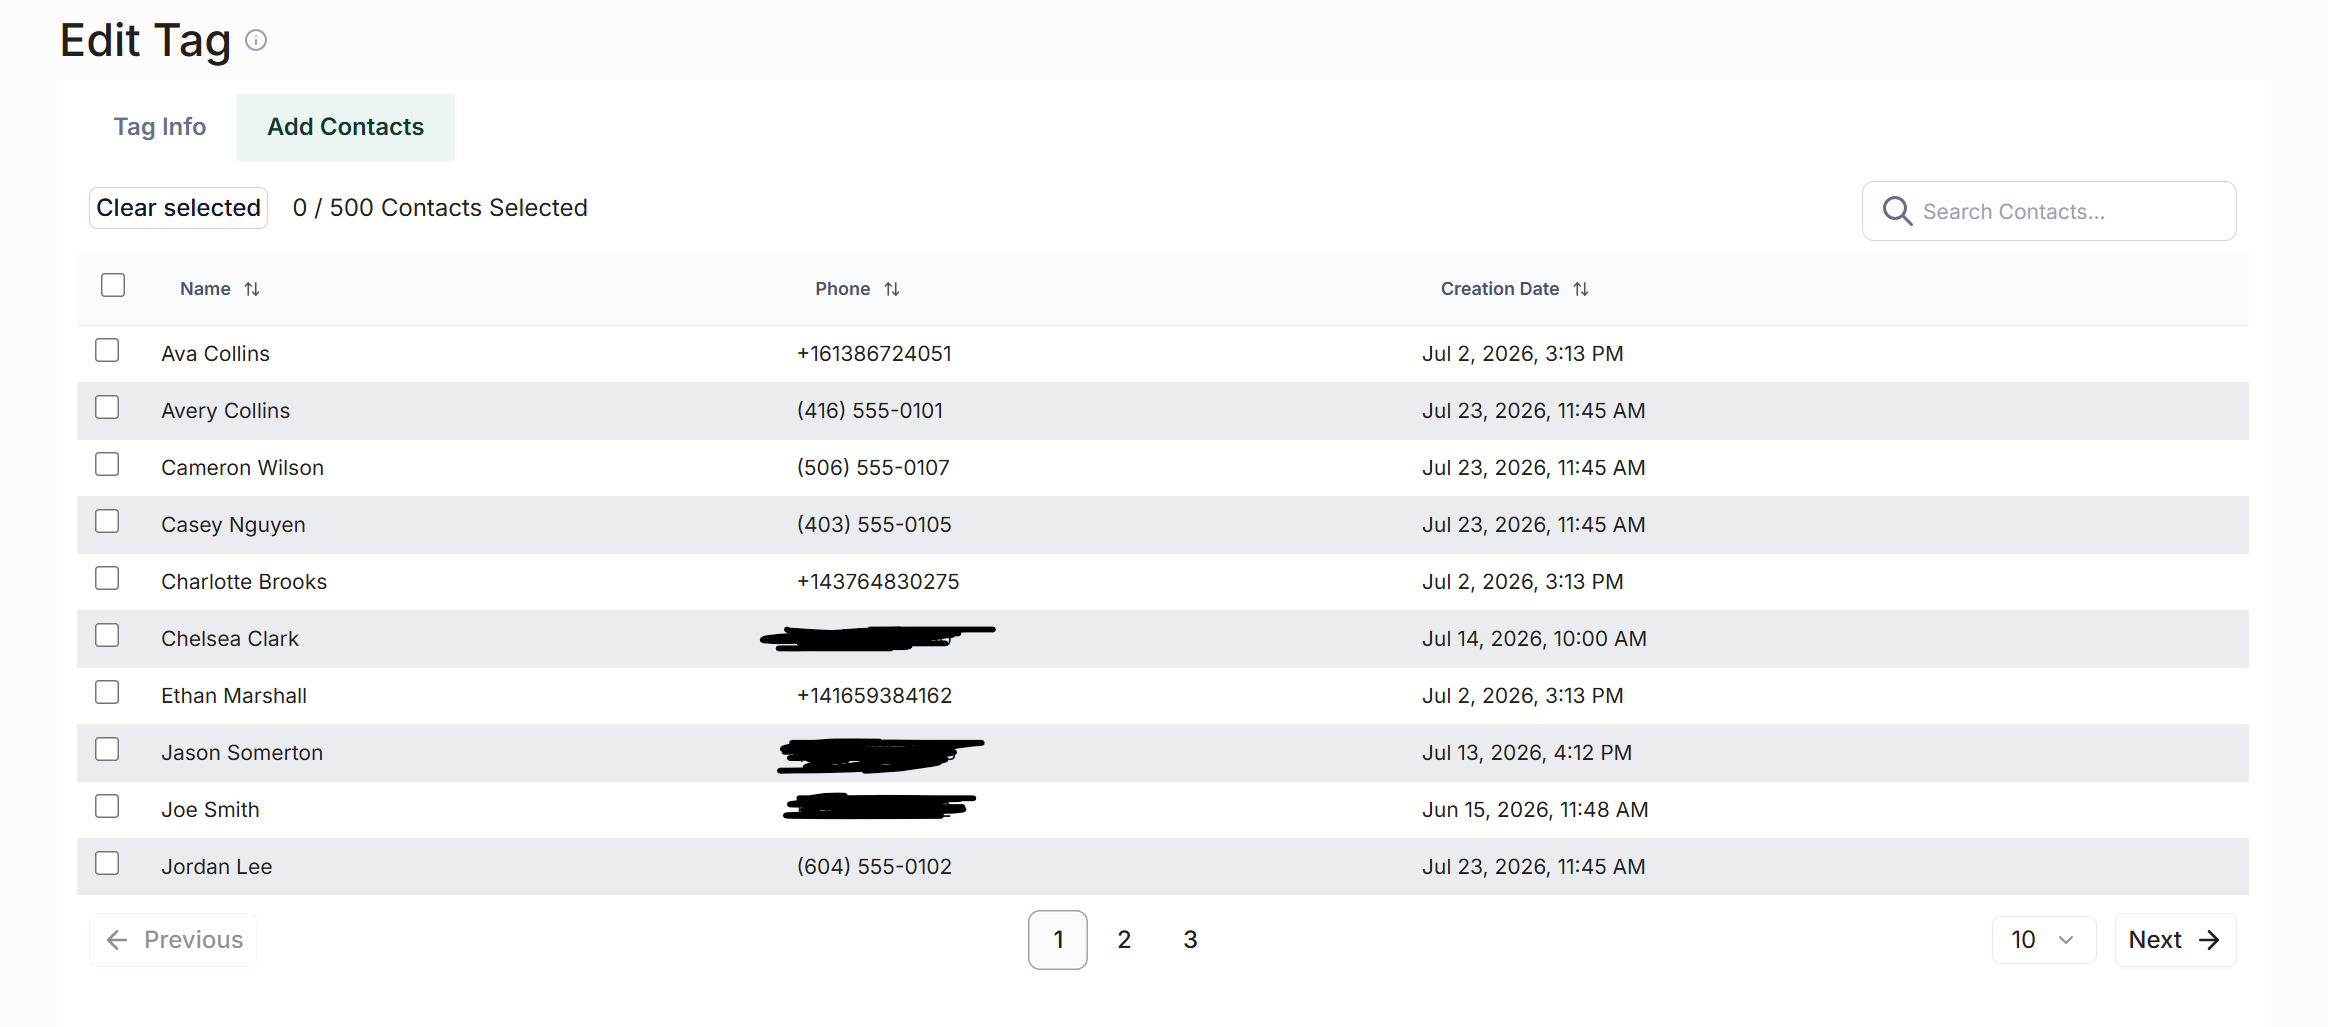
To add contacts to a specific tag, first click on the tag you wish to modify from the tag table. Next, click the Add Contacts tab located just below the heading.
From this section, you can select the contacts you would like to associate with the tag. Once you have made your selections, click the Tag "x" Contacts button located at the top right-hand side of the table to complete the process.