
Birthday Messages
At Carrick Health, we understand the importance of maintaining personal connections with your contacts. One way to enhance these relationships is by sending automated birthday texts. This feature allows you to celebrate your contacts' special days effortlessly. In this guide, we will walk you through the process of setting up and enabling birthday messages.
Setting Up Automated Birthday Messages
To begin using the automated birthday text feature, you must first ensure that you have stored the birthdays of your contacts in the designated Birthday field. Once this is done, you can set up a message that will be sent automatically on their birthday.
Accessing the Workflows Page
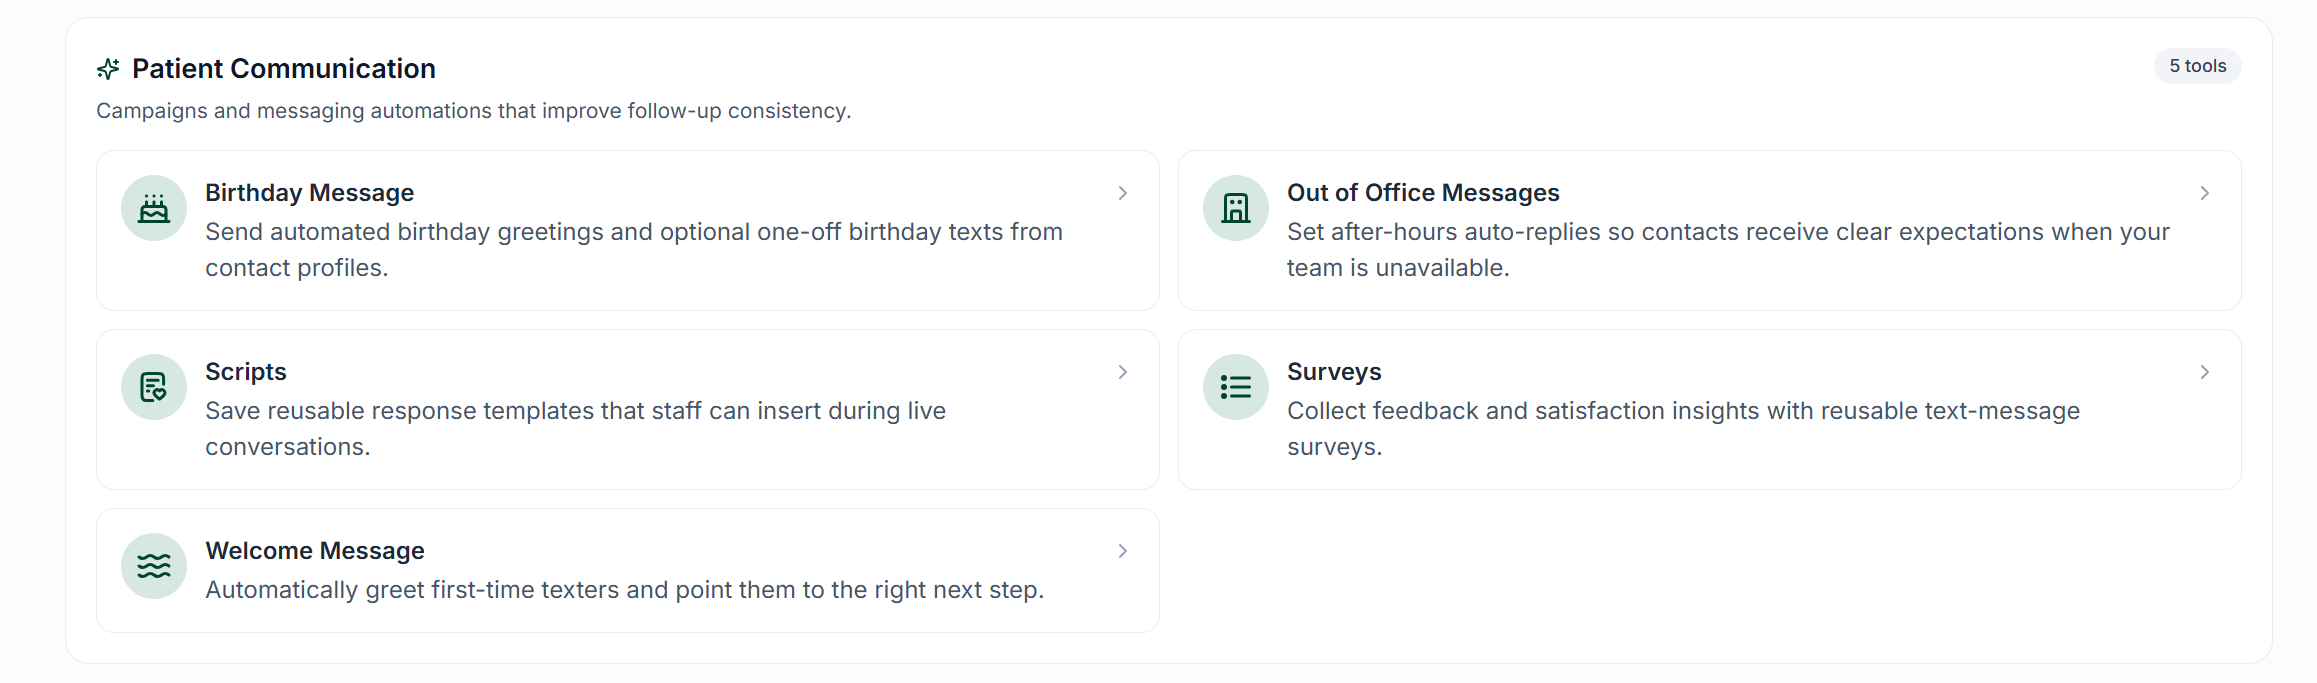
To get started, navigate to the Workflows page by selecting it from the sidebar on the left and then choosing the Birthday Message option.
Enabling a Birthday Message
Follow these steps to enable a birthday message:
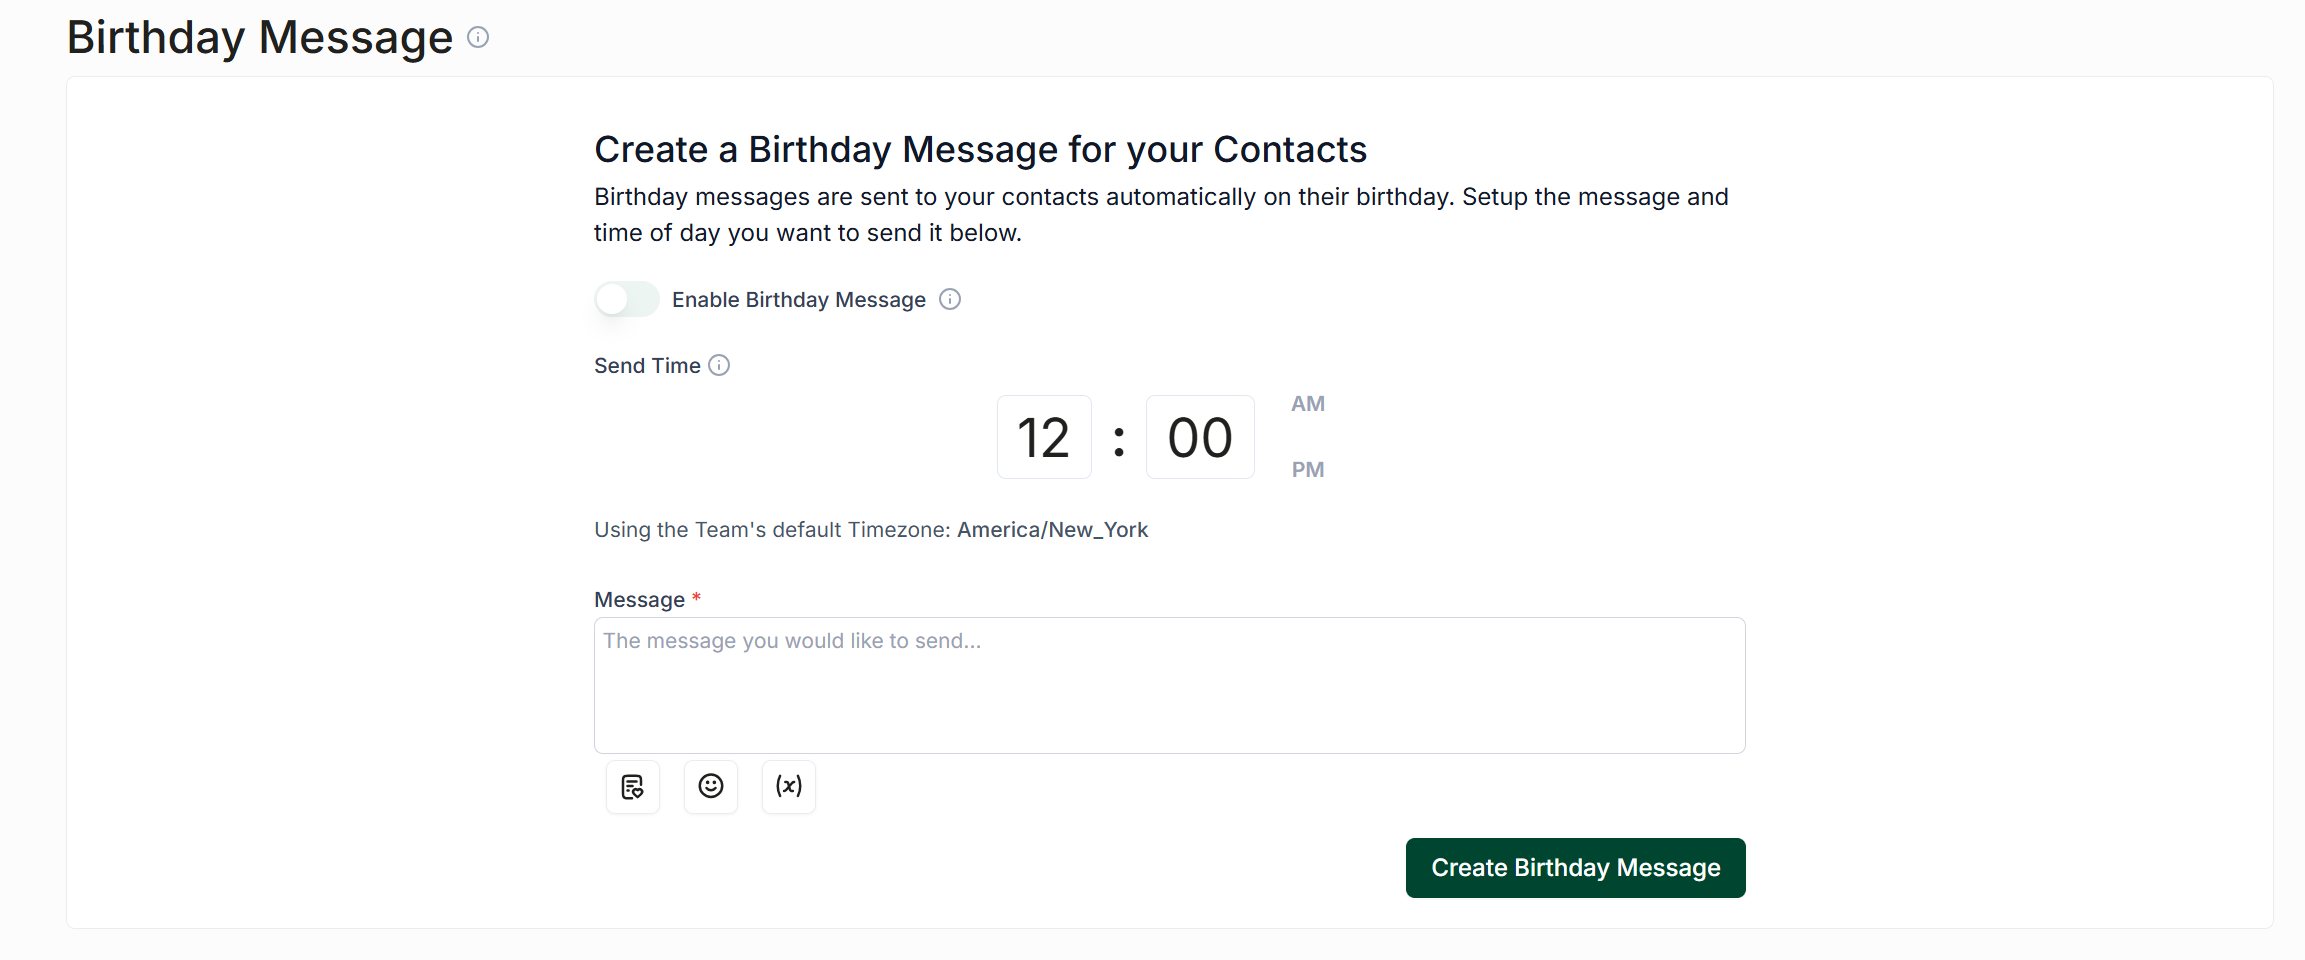
Slide the “Enable Birthday Message” toggle to the on position.
Select the time of day you would like the birthday message to be sent. Please note that this time is based on your team’s default time zone.
If you need to change your team’s time zone, go to the Settings page by clicking on the dropdown menu in the top right corner of the screen, and then select Update team Info. Here, you will find a dropdown menu to select your team’s default time zone.
Composing Your Birthday Message
Once you have enabled the birthday message and selected a time, you can proceed to compose the message you wish to send. Utilize the Message section to create your text. You have the option to personalize the message using template fields or by employing a script that you have saved previously.
Saving Your Message
When you are satisfied with the message you have crafted, click the Create button to save it. Your automated birthday message is now set up and ready to be sent to your contacts on their special day.