
Call Flows
This document provides a comprehensive guide on how to create and configure call flows at Carrick Health. Call flows are essential for managing phone trees, allowing callers to navigate through various options and services effectively.
Understanding Call Flows
Call flows are the mechanisms through which Carrick Health manages phone trees. They present callers with a message and allow them to enter inputs to be directed to different areas or services within the organization.
Creating Call Flows
To create a call flow, follow these steps:
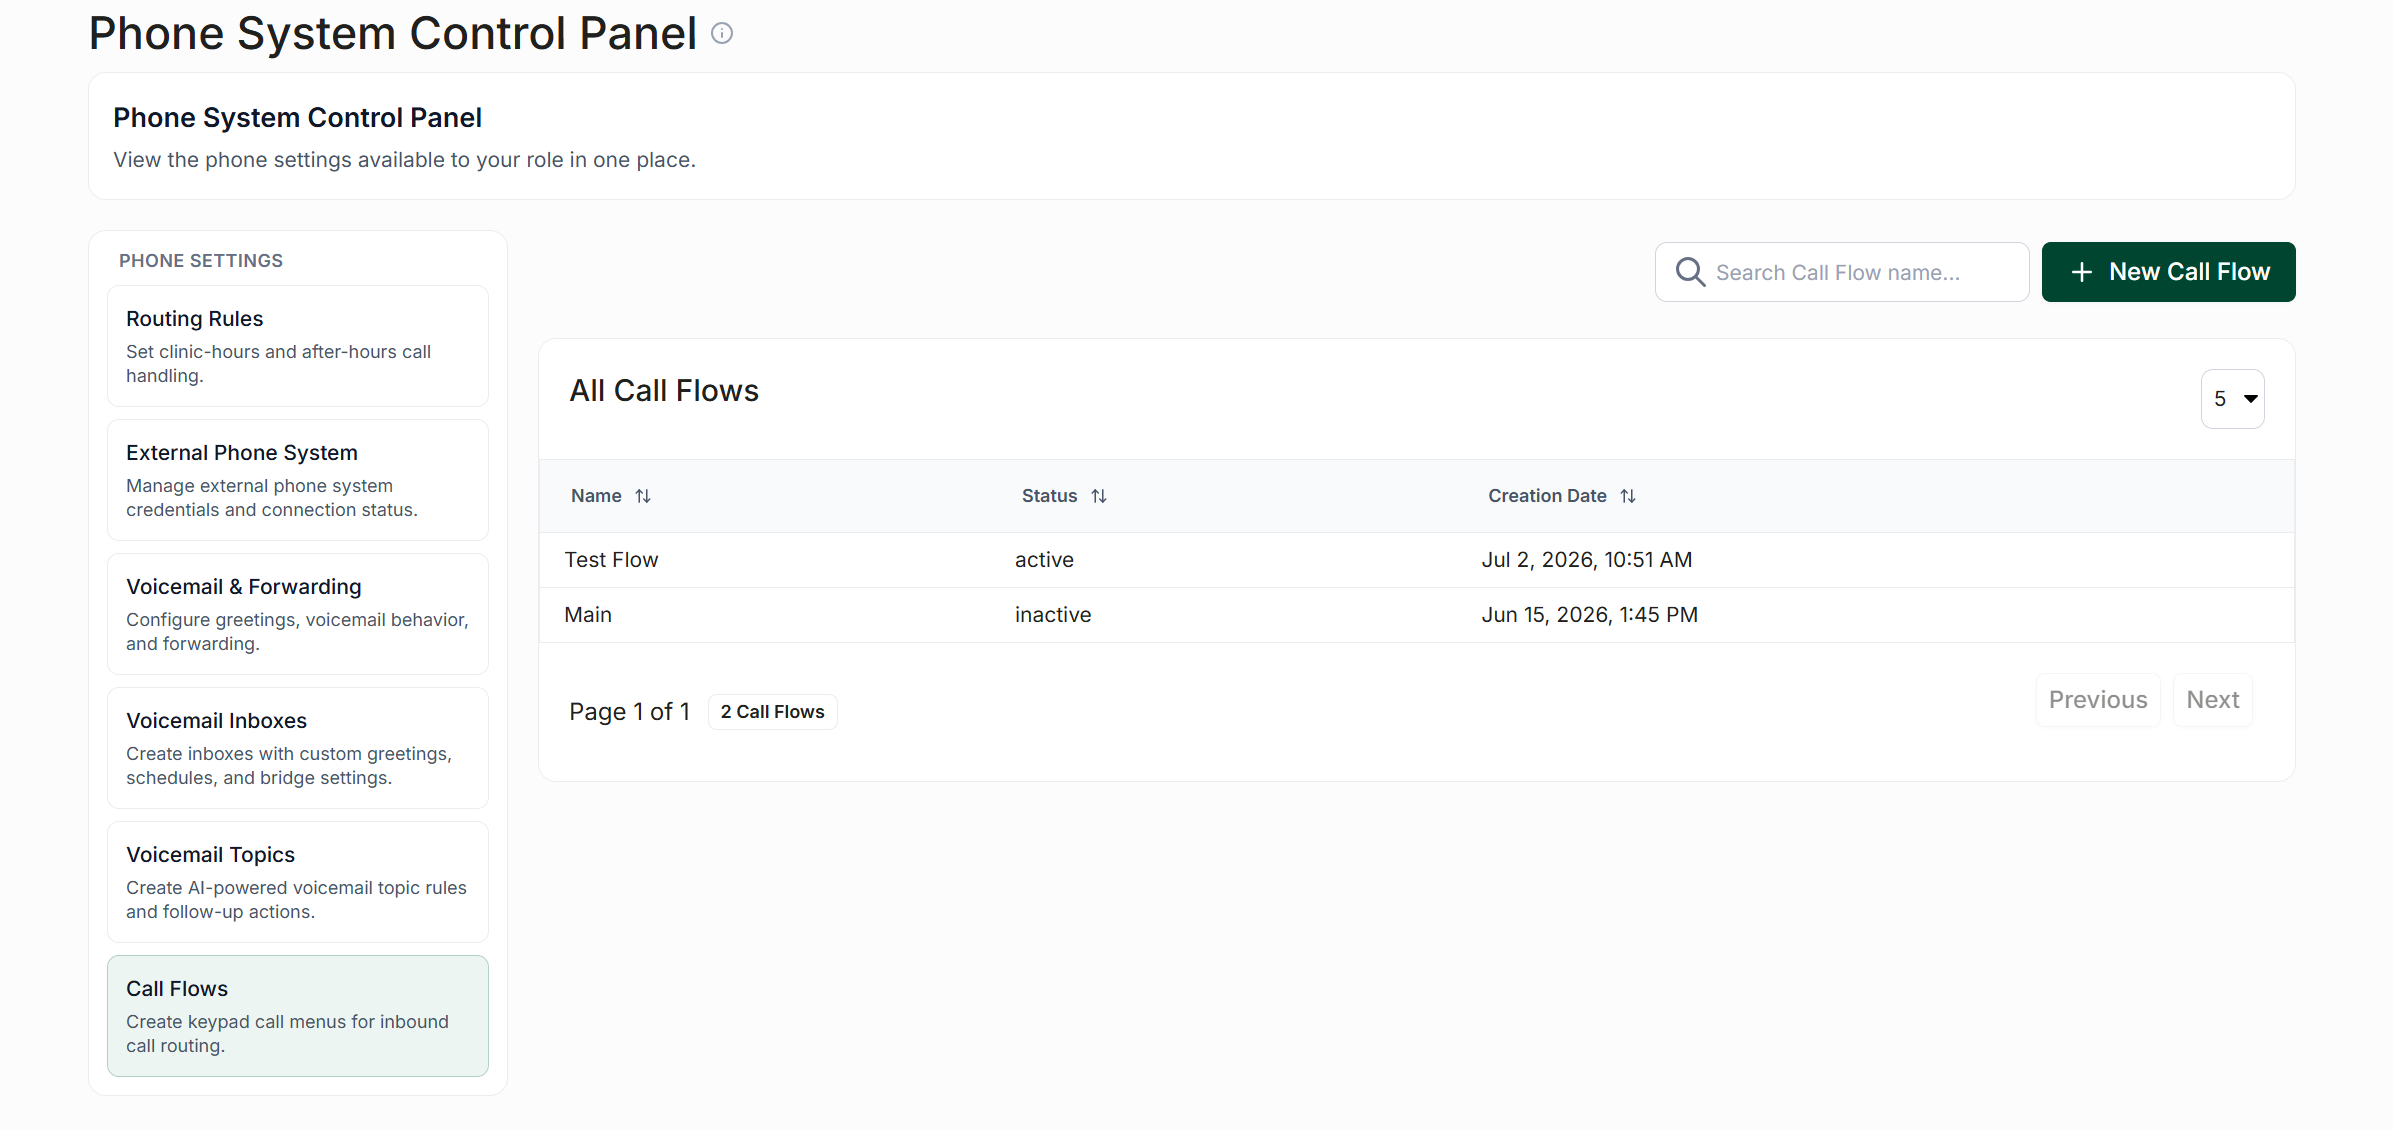
In the left-hand sidebar, navigate to Automations.
Scroll to the bottom of the page and select Phone Configuration. This will initially bring you to the Voicemail & Forwarding tab.
From here, navigate to the Call Flows tab.
Click the button labeled New Call Flow, enter a name for your flow, and provide an optional description. Then, click Create.
Configuring Call Flows
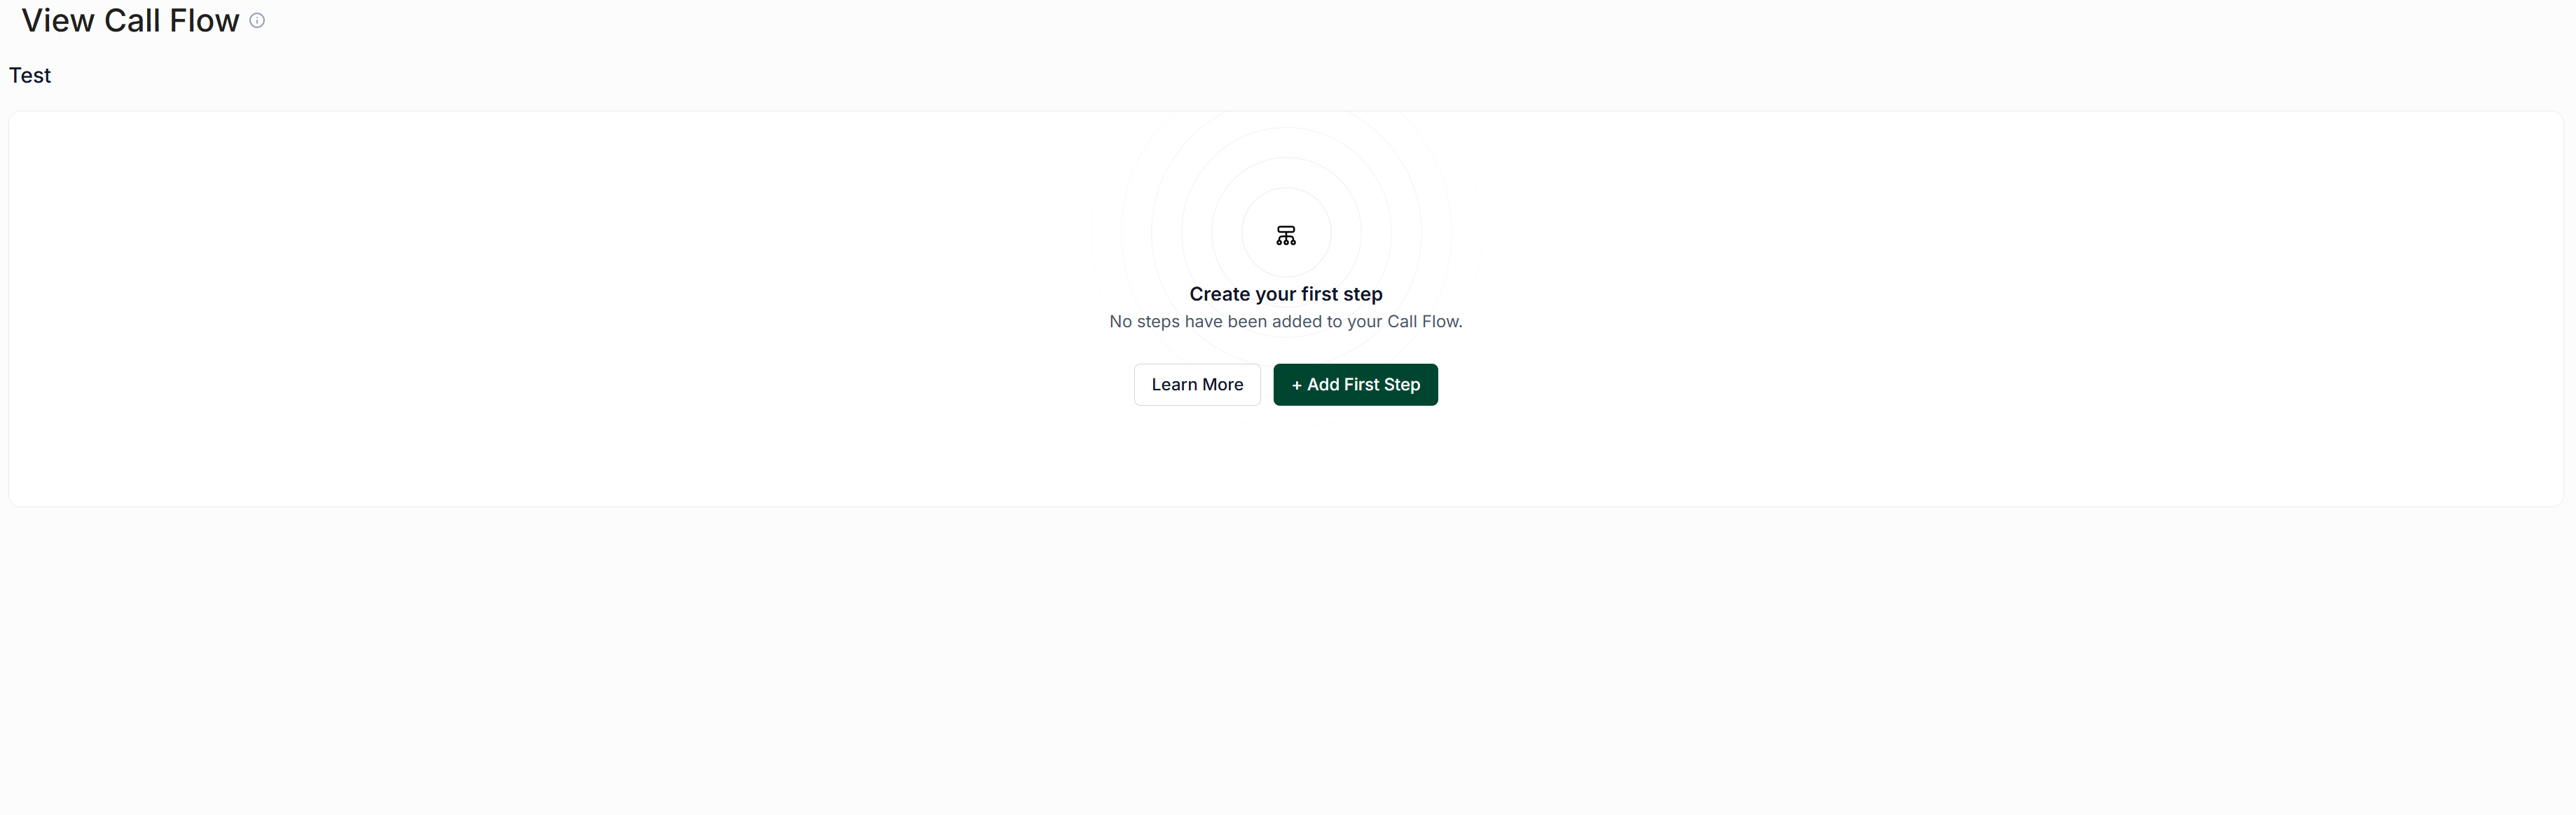
Once a call flow has been created, you will be directed to the flow overview screen. From here, click Add First Step.
Setting Conditions
This action will take you to the Conditions tab, where you will add the conditions that determine when the step will trigger. The initial condition should always be set to Contact Condition with the condition type set to All. This configuration allows the steps of the call flow to be triggered by any inbound calls, regardless of whether the caller has been made a contact or not.
Click Add Condition, then Next.
Defining Actions
After adding your condition, you will be taken to the Actions screen. Here, you will determine the actions that will occur when this step is triggered. For a basic call tree, select Say as the first action and enter a message that your patients should hear when they first call your clinic. Once you have entered the message, click Add Action.
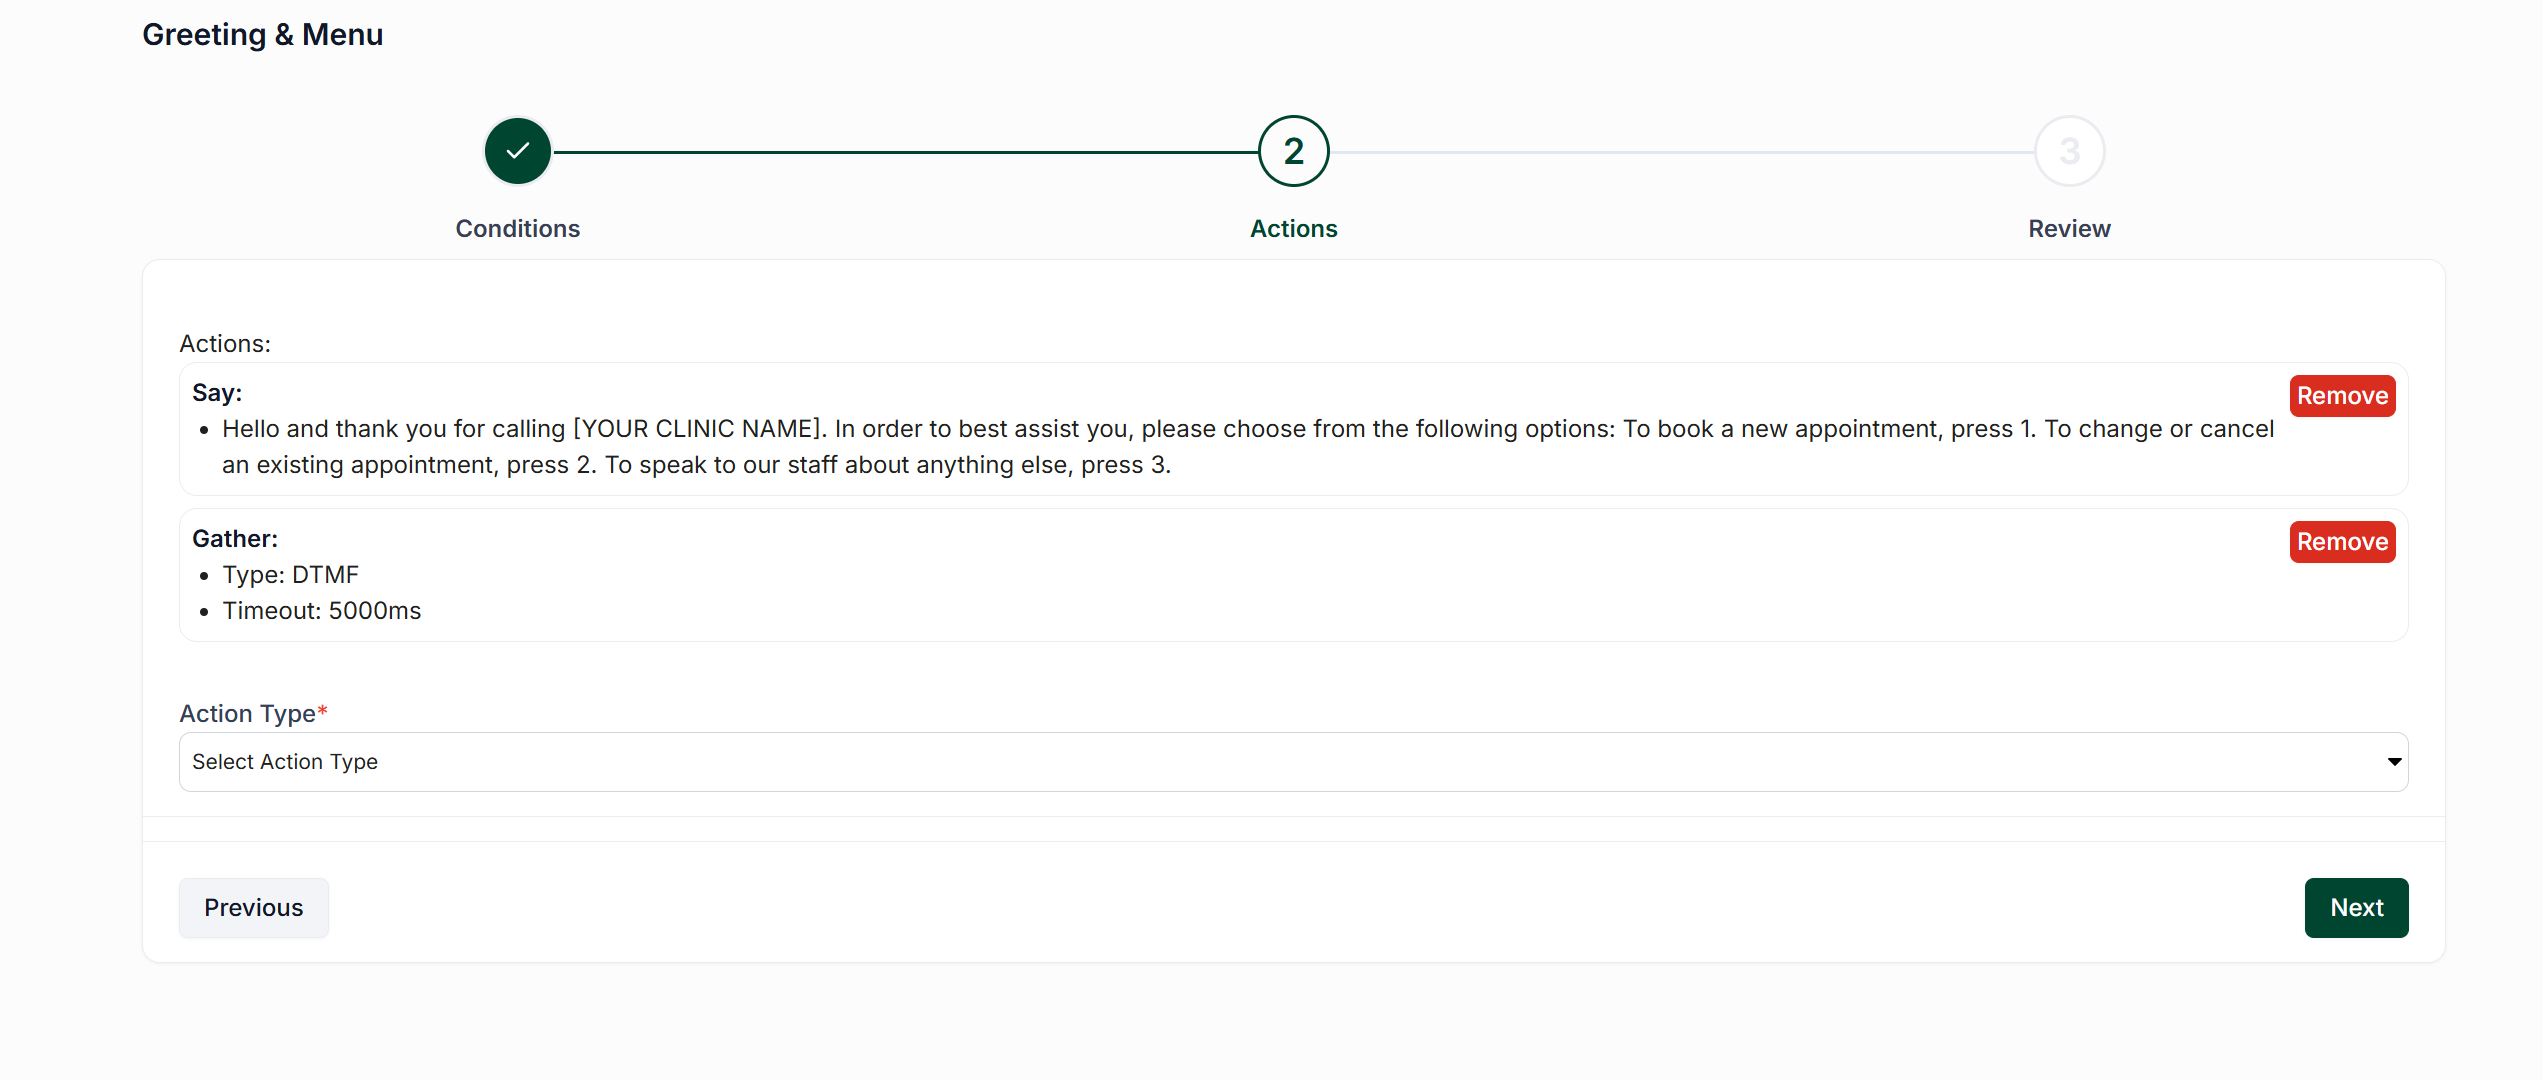
For the next action, select Gather (DTMF/Speech), set the gather type to DTMF (keypad input), and determine a timeout window in milliseconds. This setup will allow your call flow to record input and direct the caller as needed.
Reviewing and Naming the Step
Click Next to proceed to the review screen. Here, you will name your step and click Create/Update Step.
Adding Additional Steps
Once your initial step has been created, you will need to create steps for any inputs your caller may enter. Under your initial step, click New Step to begin.
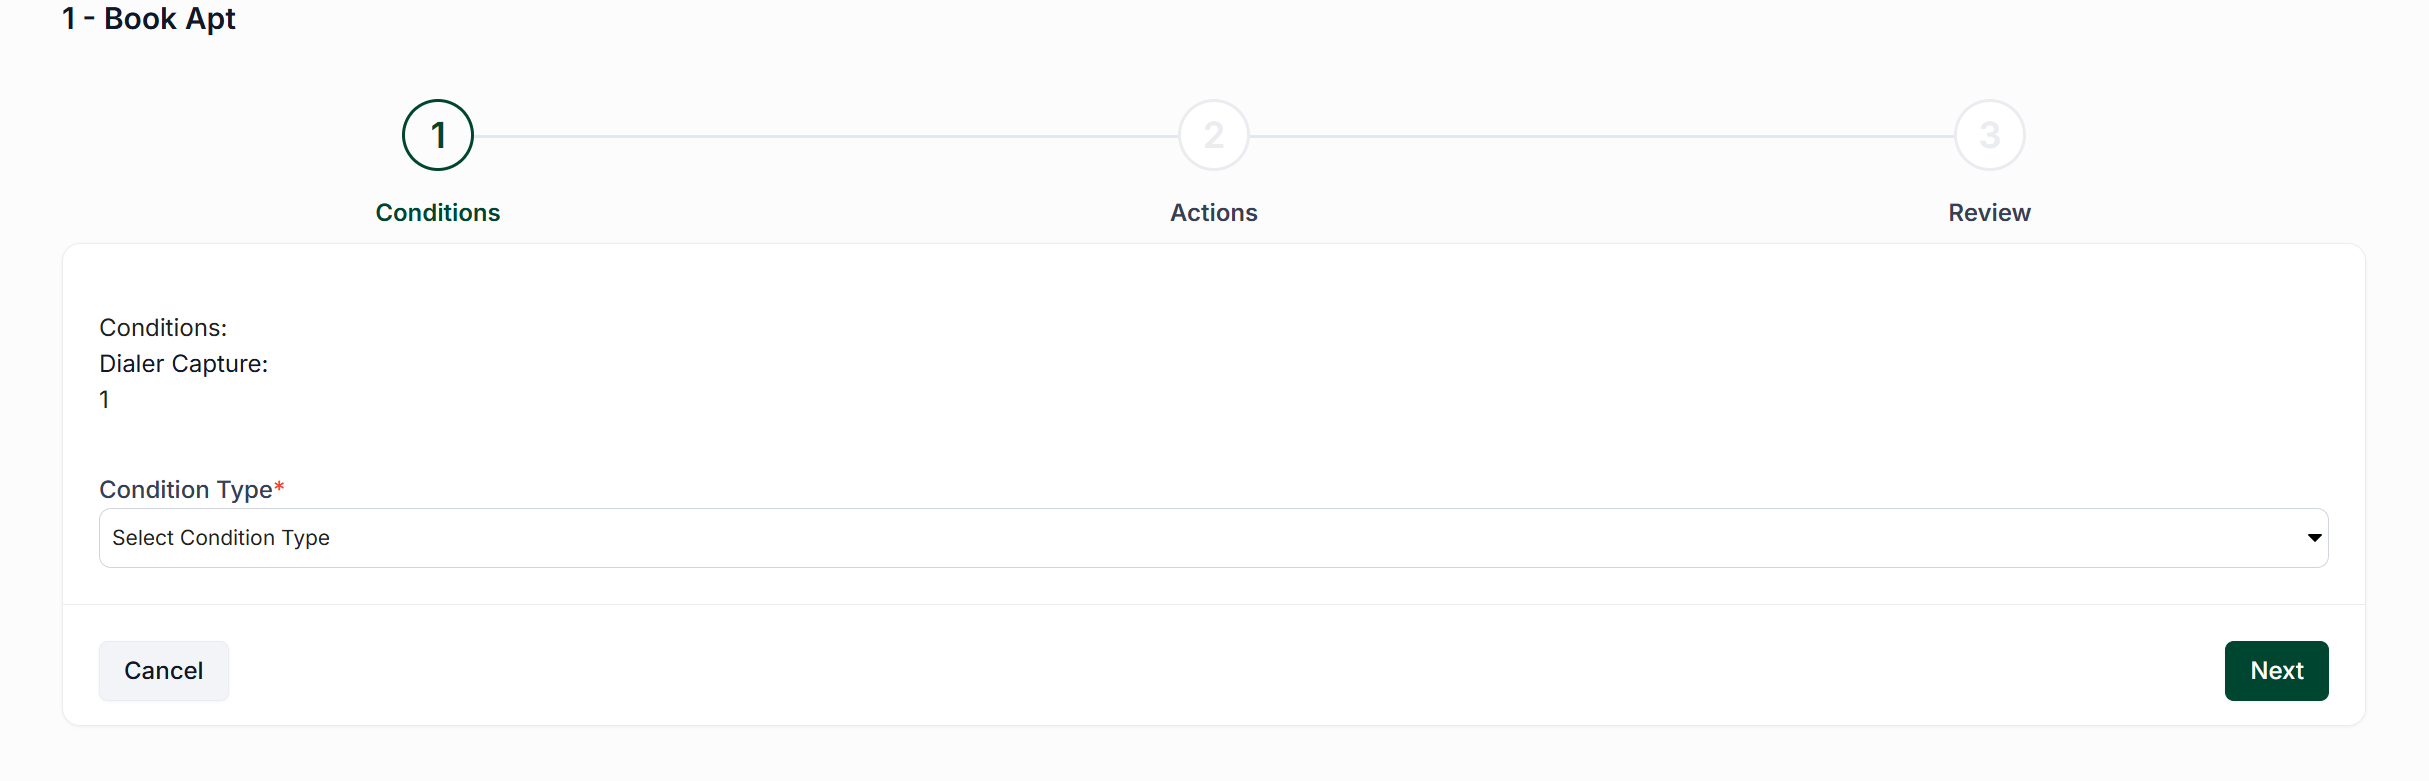
When you are brought to the Conditions tab, set the condition to Dialer Capture and specify the touch tone as a number mentioned in the greeting of your initial step. Add the condition and proceed to the next screen.
Configuring Actions for Caller Inputs
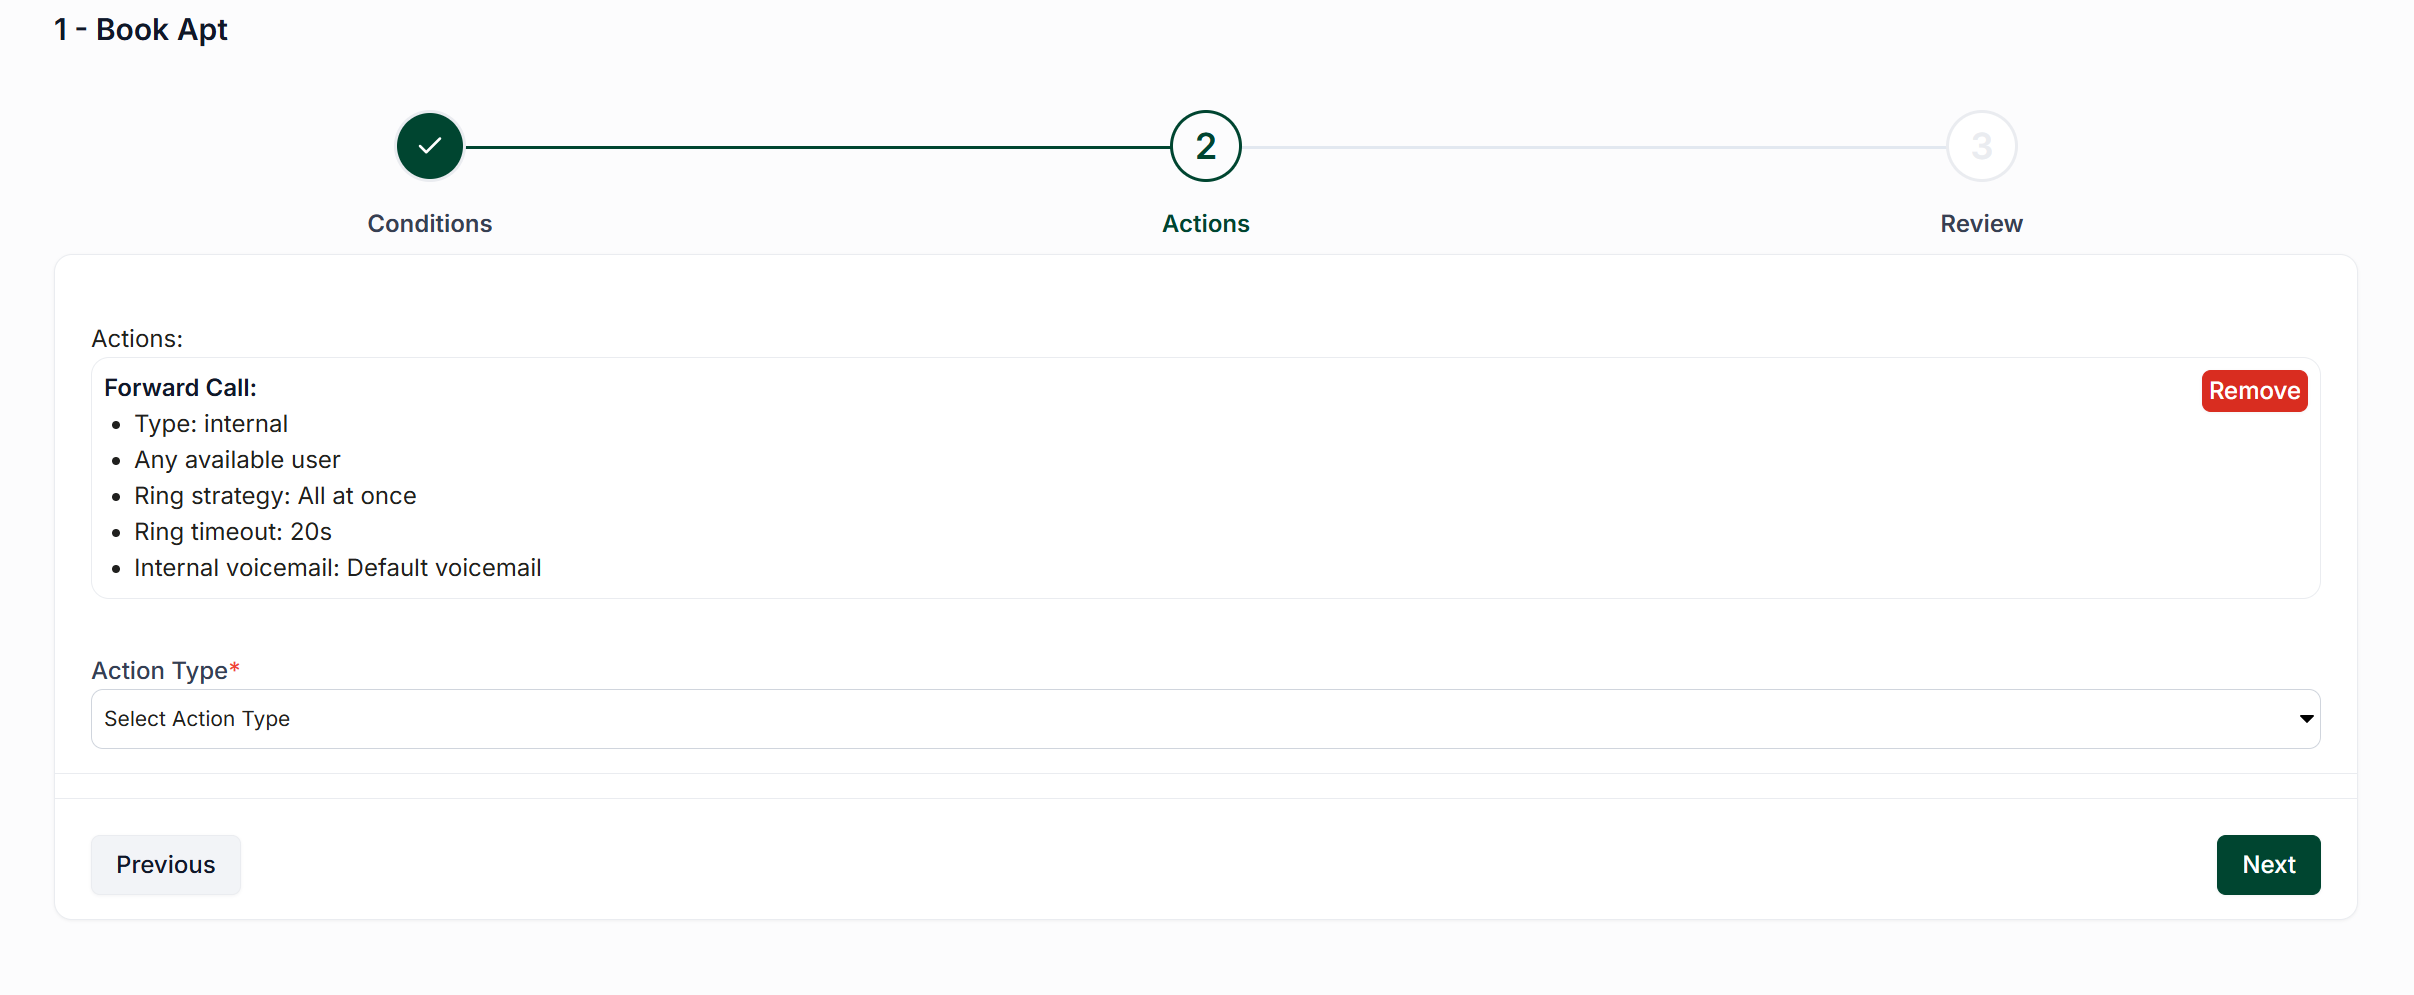
On the Actions screen, select the appropriate action for your caller's input. For our purposes, choose Call Routing. Set the Forwarding Type to Internal Users, the Internal Forwarding Mode to Specific Users, and select which users will receive calls. Additionally, set the Ring Strategy to All At Once, decide on a ring timeout, and specify the voicemail location. After adding the action, move to the review screen and name the step according to the number your caller would input to activate this step, along with the nature of the action.
Finalizing the Call Flow
Repeat these steps for any additional options that the caller may be given. Once all your steps have been added, navigate back to the first step of your call flow, click Configuration, and choose Activate Call Flow. Your call flow is now ready to be assigned as an inbound call policy.