Appointment Custom Fields
Appointment custom fields are essential tools that allow you to store additional information about appointments, enhancing the overall management and organization of your scheduling system. This document outlines the process for creating and editing appointment custom fields, as well as the various types of fields available for use.
Creating Appointment Custom Fields
To create appointment custom fields, follow these steps:
Navigate to the appointments tab in the left-hand sidebar.
Click the gear icon located at the top of the page.
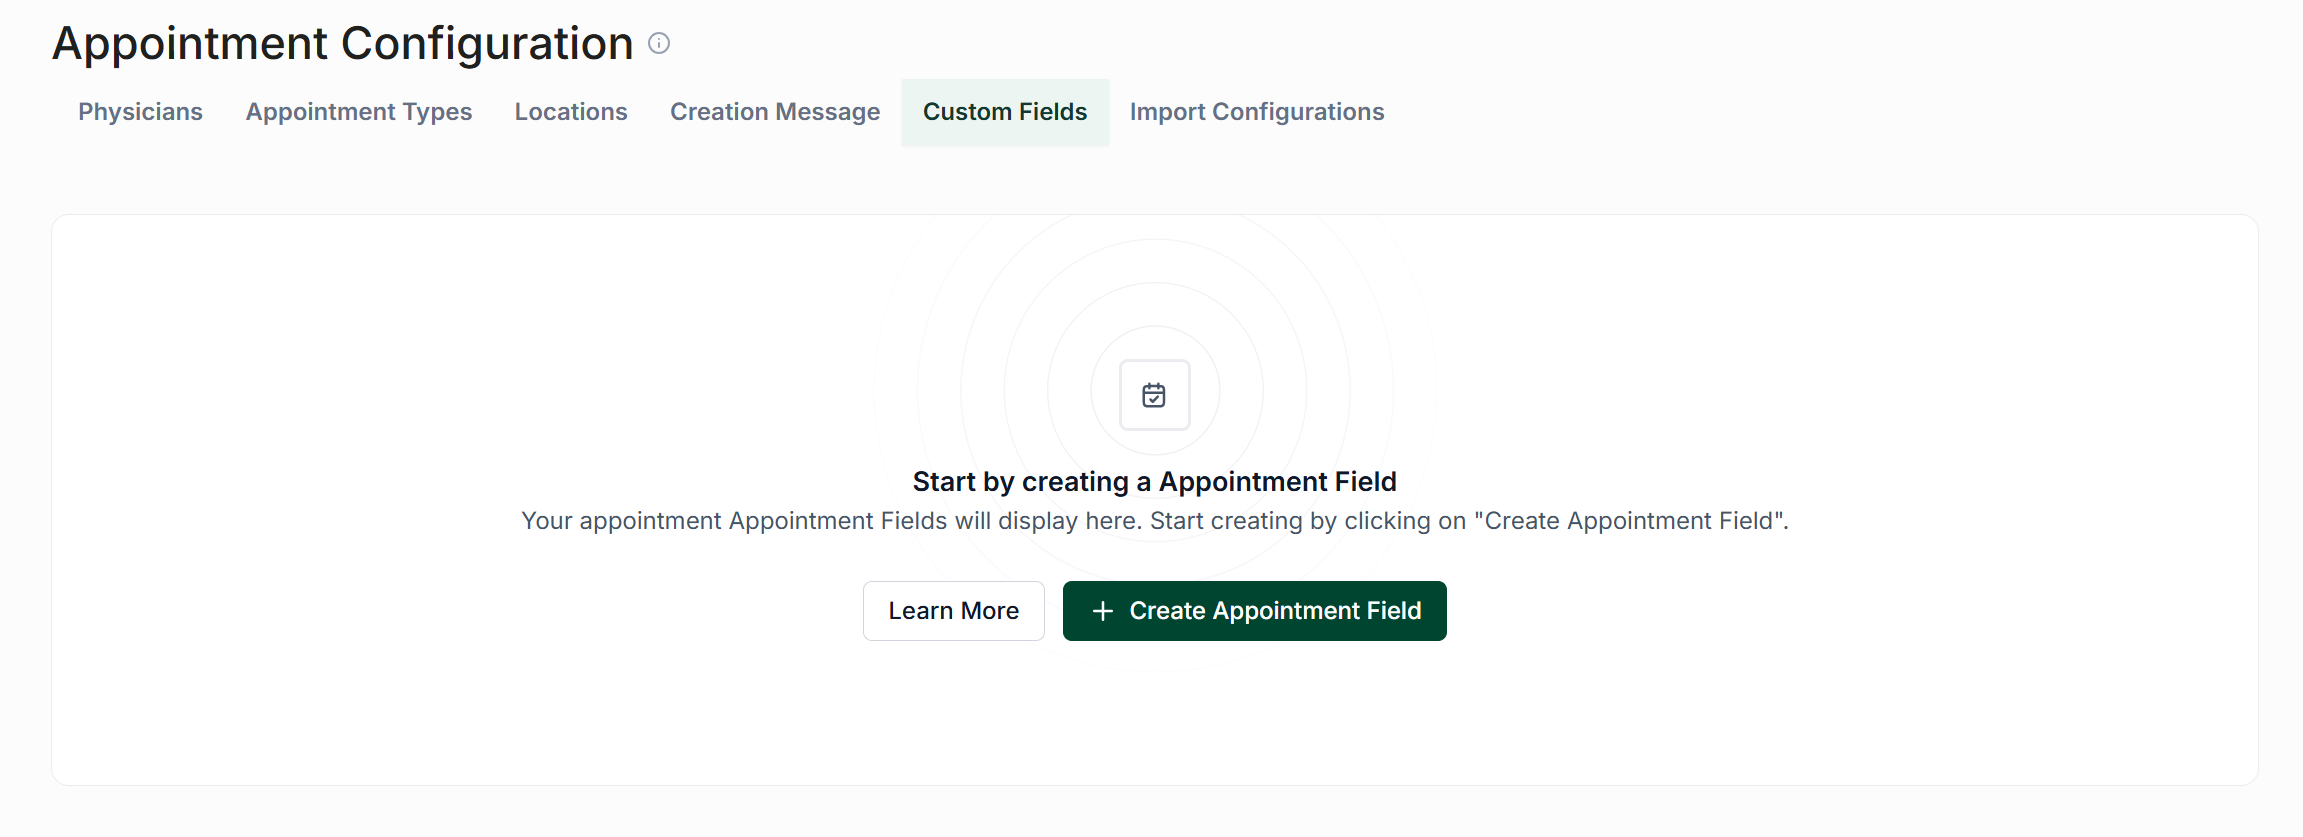
Select "Configure Appointment Settings" and then proceed to the "Custom Fields" section.
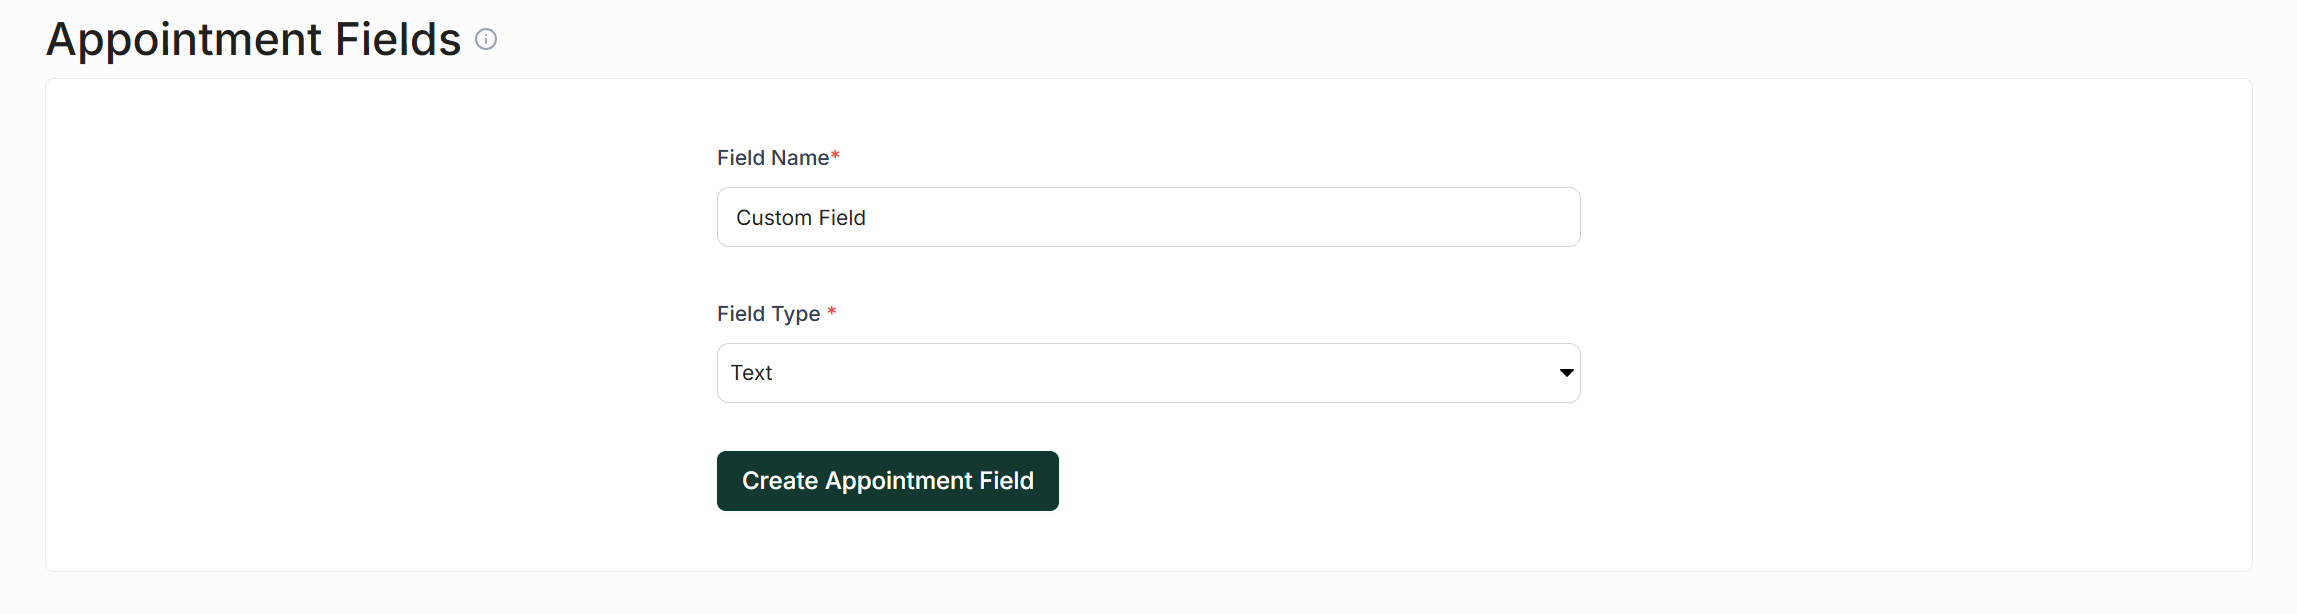
Click "Create Appointment Field," enter a name for the field, and choose one of the field types listed below.
Field Types
When creating appointment custom fields, you can choose from the following types:
Text Contact Fields: These fields allow you to store any value as text.
Drop Down Contact Fields: These fields enable you to select from a limited selection of valid inputs.
Number Contact Fields: These fields require that the input must be a number.
Checkbox Contact Fields: These fields can only have two states: checked or unchecked, representing true or false.
Date Contact Fields: These fields are designed to store a date, such as a birthday or signup date.
Once you have selected your desired field type, click "Submit" to finalize the creation of your custom field.
Editing Appointment Custom Fields
After creating your appointment custom field, you may need to make edits. To do so, follow these steps:
Return to the "Custom Fields" tab.
Click the "Edit" button located on the right side of your appointment custom field under the "All Fields" section.
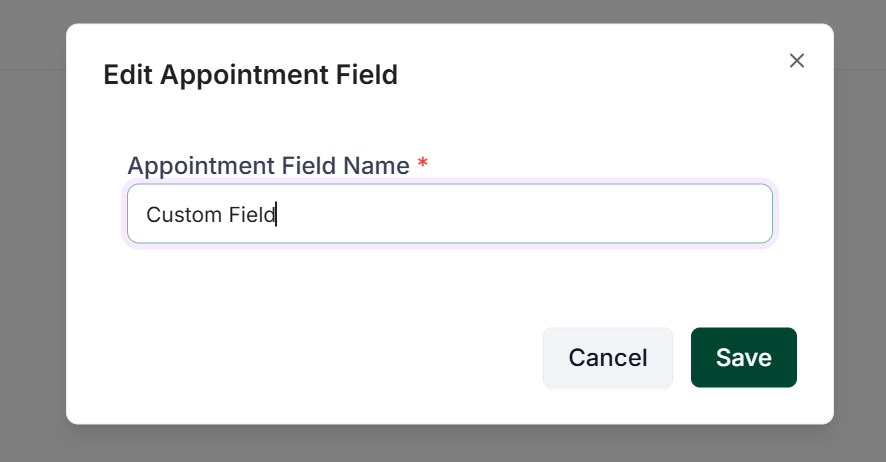
Currently, you can only edit the name of the field.