QR Codes
QR Codes are an innovative tool that simplifies communication by allowing individuals to easily text your number. This document outlines the steps to create both keyword message codes and contact card codes.
Creating QR Codes
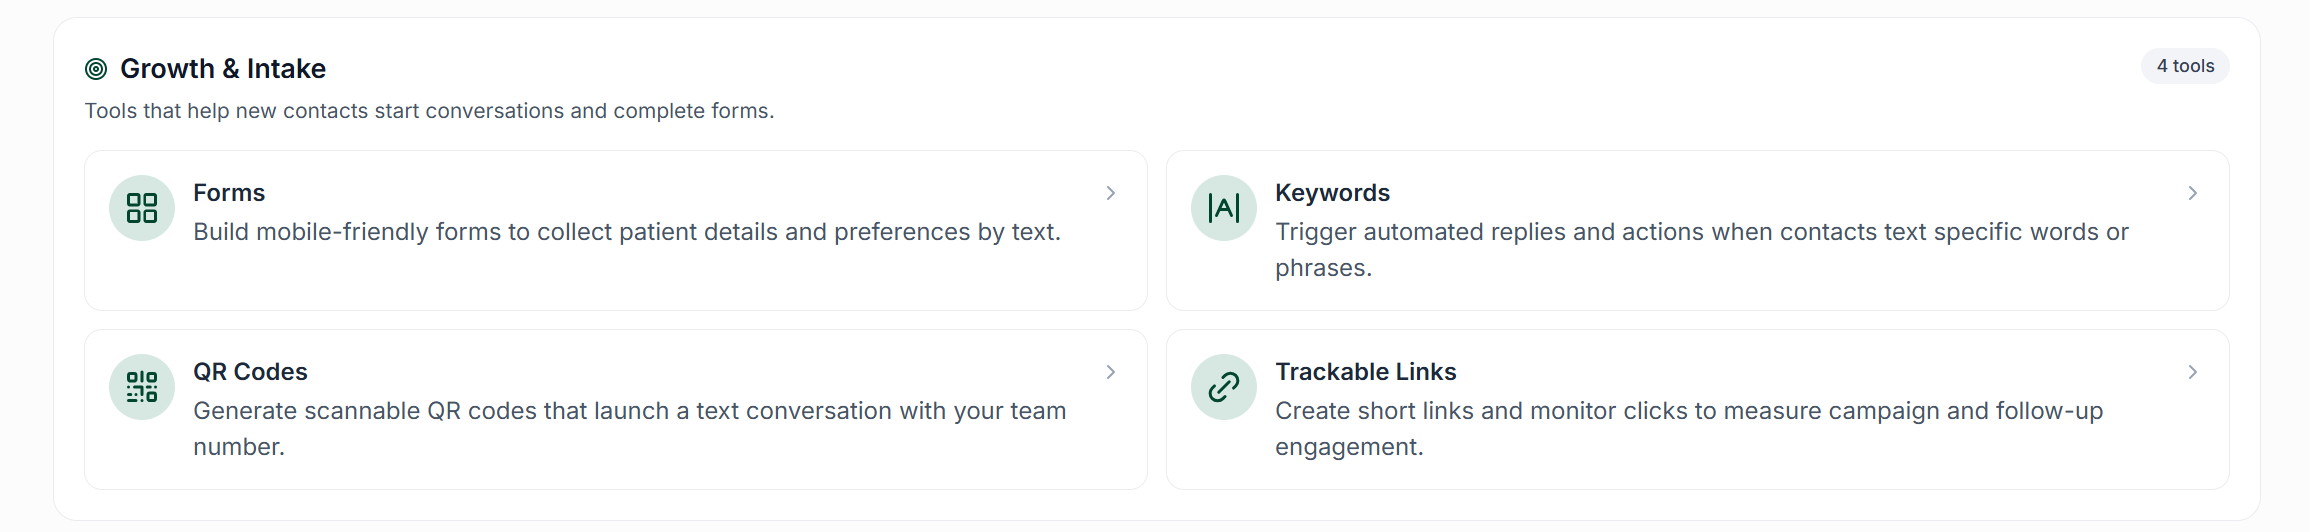
To create a QR Code, navigate to the QR Codes page in the Workflows tab and click on the "Create QR Code" button located at the top right corner.
Types of QR Codes
There are two types of QR Codes you can create:
Keyword Message Codes: When a contact scans a Keyword Message QR Code, they are prompted to open their messaging app, where a pre-written message is automatically filled in and directed to your Carrick number. All they have to do after they scan the code is press send.
Contact Card Codes: When a contact scans a Contact Card Code, it will prompt them to save your Carrick number in their phone as a contact.
Keyword Message Codes
To create a keyword message code, select the corresponding option after clicking "Create QR Code".
Follow these steps:
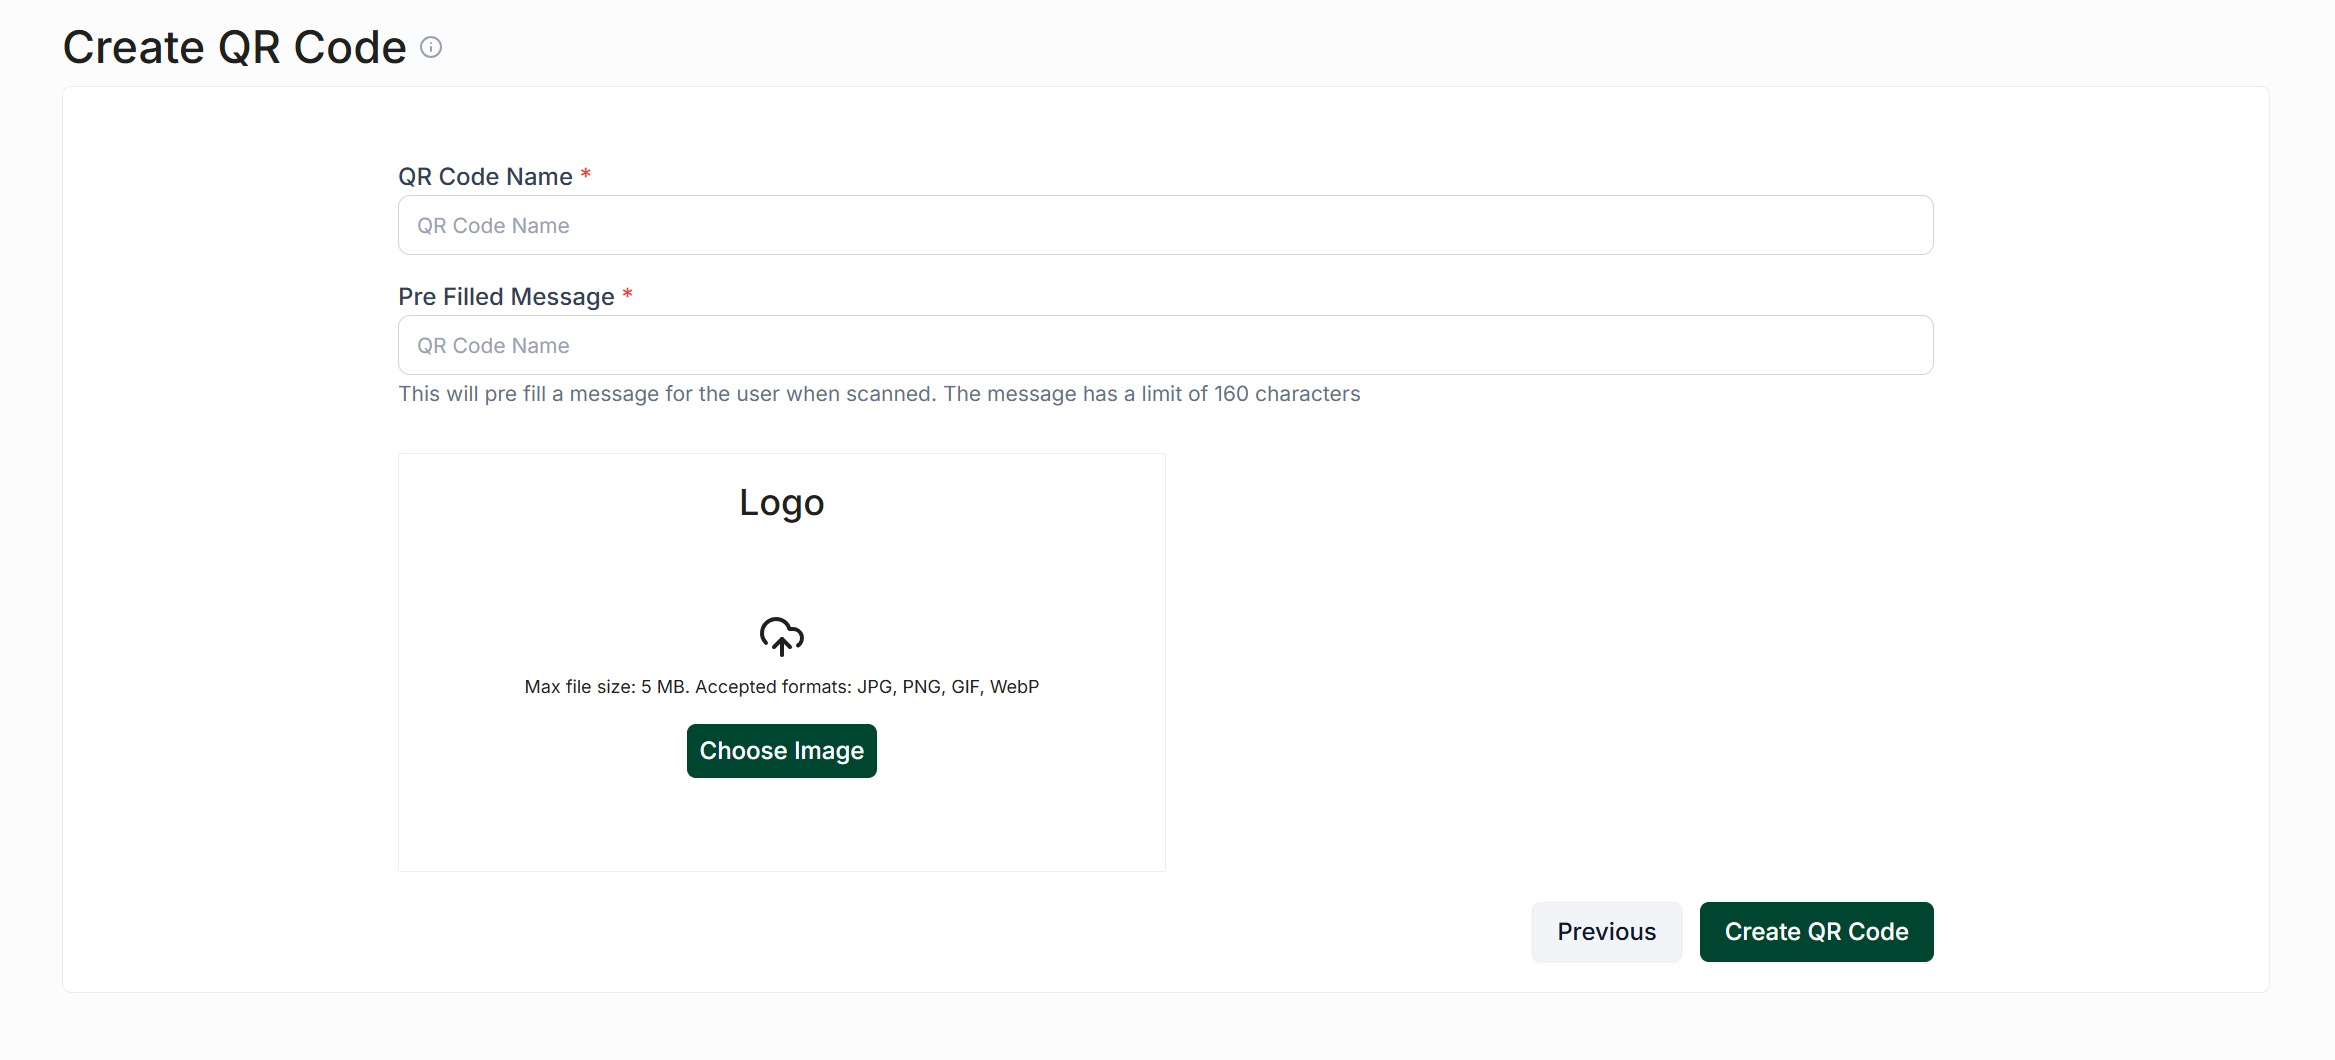
Name your QR Code to easily locate it later in your list of QR Codes.
Enter the message you would like your contacts to send you in the "Pre Filled Message" box.
Optionally, you can upload a logo that will appear in the center of the QR Code. The QR code will still be valid even with a logo in the center.
Once you have completed the message, click the "Create" button at the bottom right to generate your QR Code.
Contact Card Codes
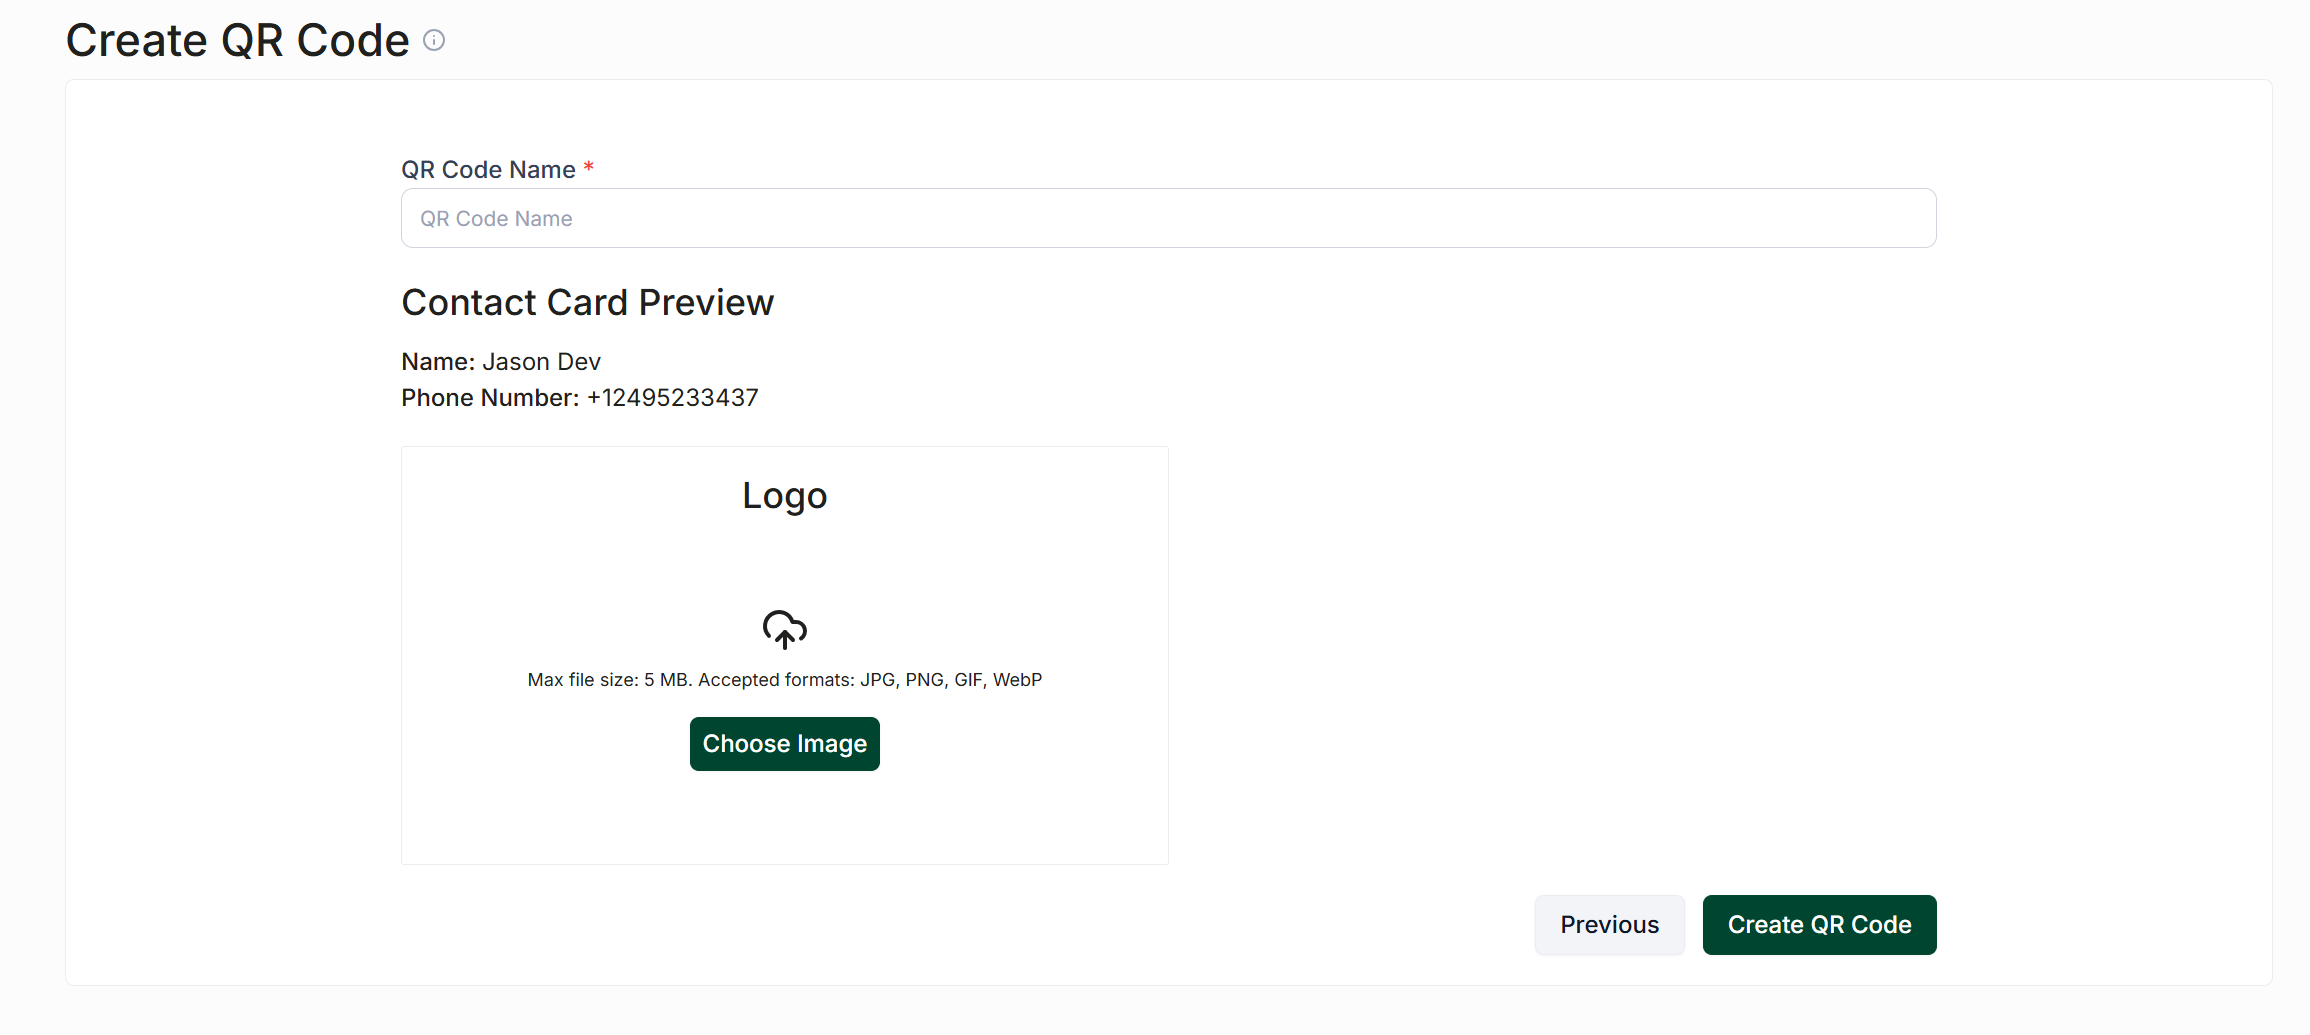
Creating contact card codes is similar to creating keyword message codes. Simply select the corresponding option when creating a QR Code and follow these steps:
Enter a name for your code. Carrick will automatically populate your clinic's name and phone number.
Optionally, you can upload a logo that will appear in the center of the QR Code. The QR code will still be valid even with a logo in the center.
Click "Create" to finalize your QR Code.