
Outbound Bots
Outbound bots are an essential tool for automating patient follow-up communications after conversations or appointments. This document outlines the process for creating and triggering outbound bots within the Carrick Health system.
Creating Outbound Bots
To create an outbound bot, follow these steps:
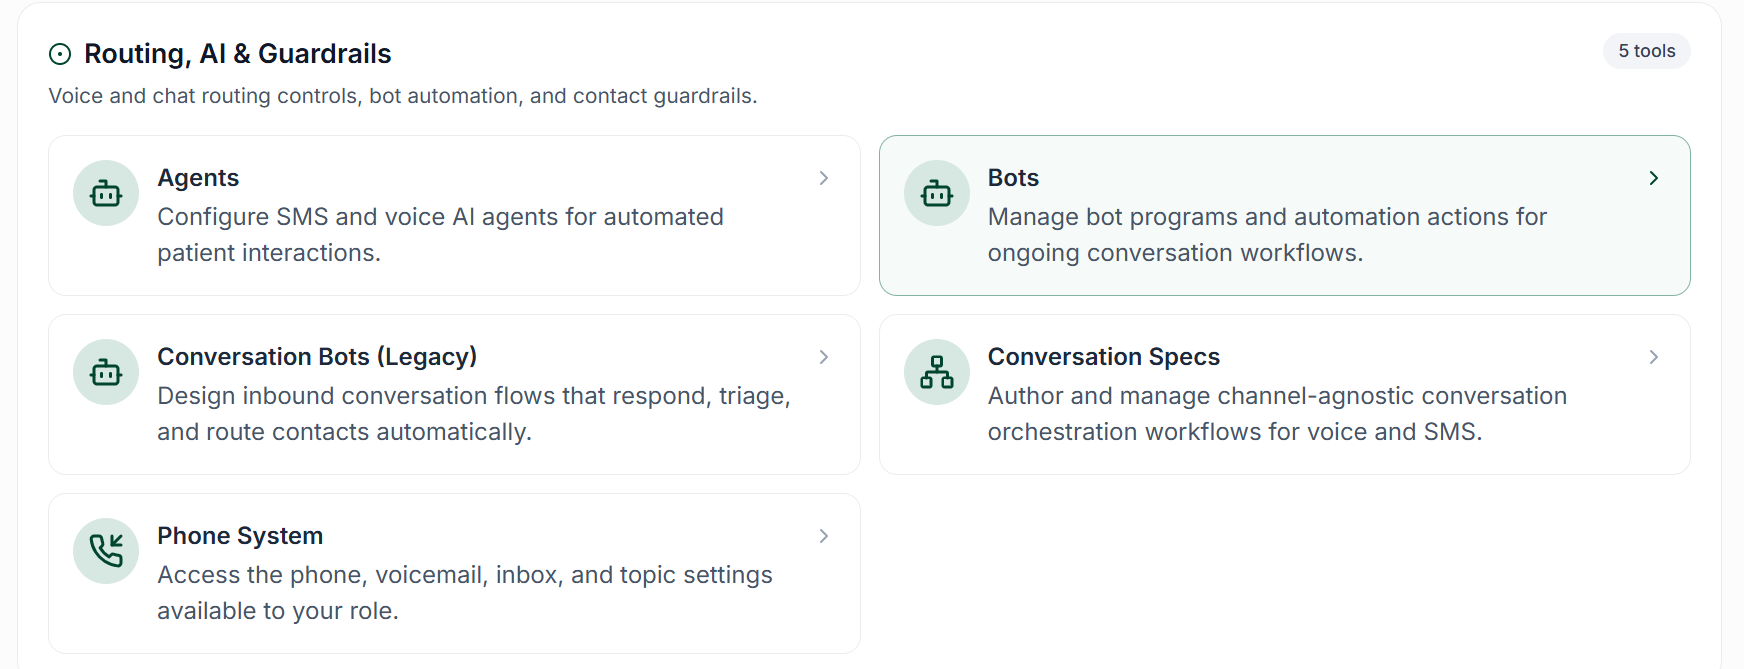
Navigate to the Workflows tab in the left-hand sidebar.
Scroll down until you find Bots.
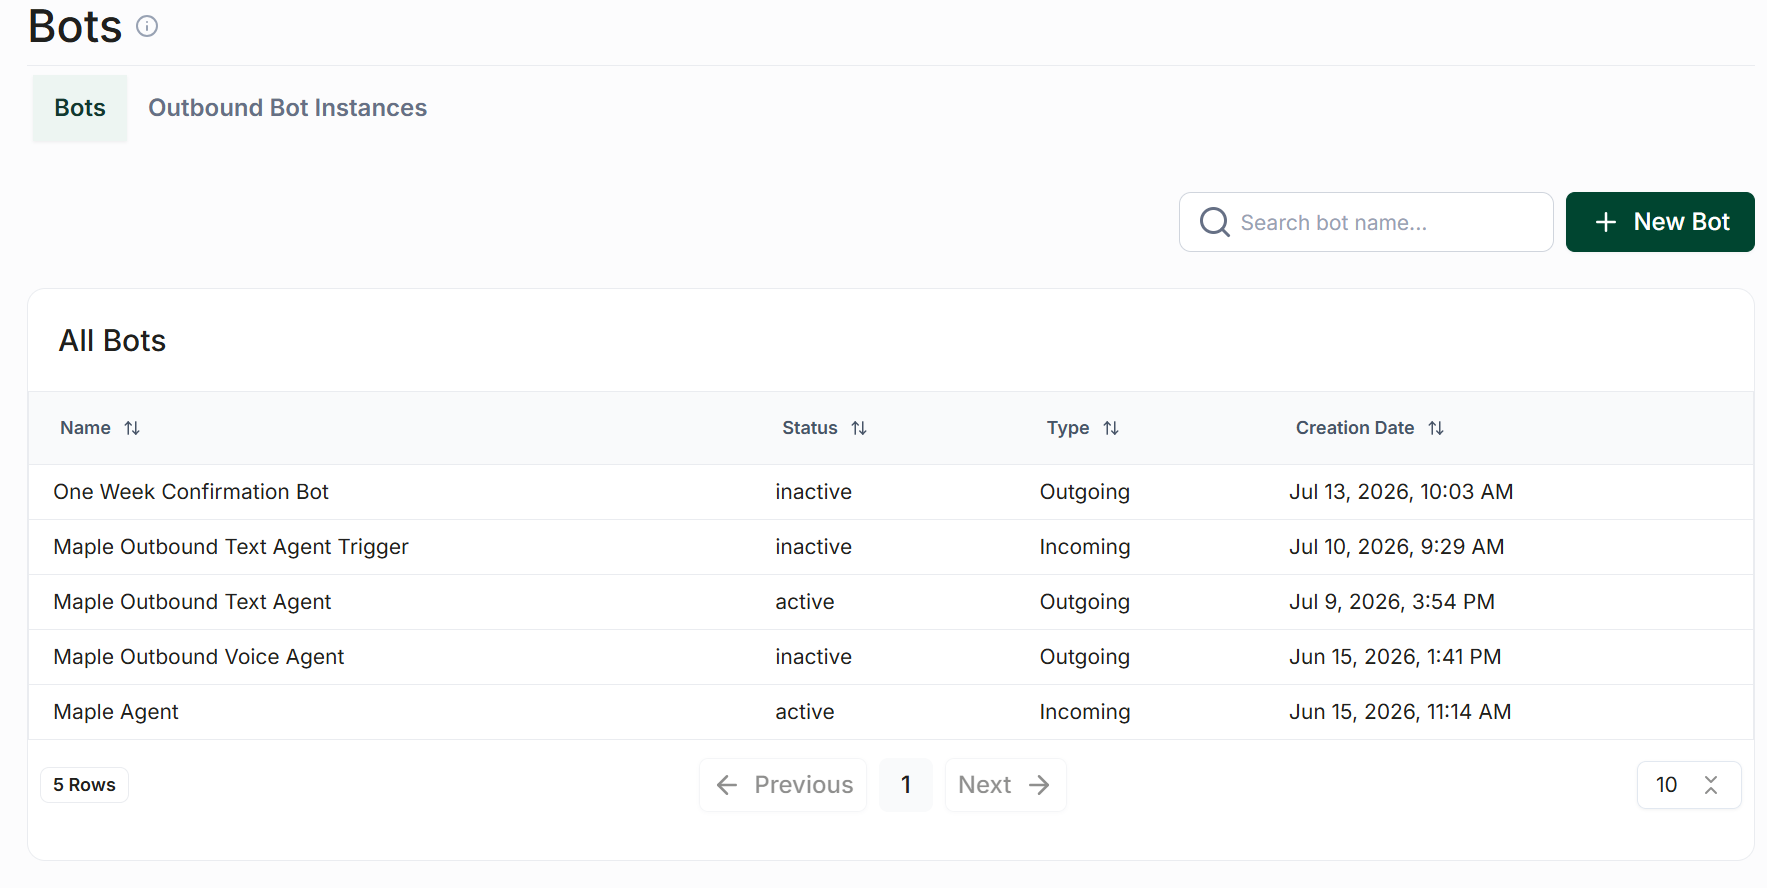
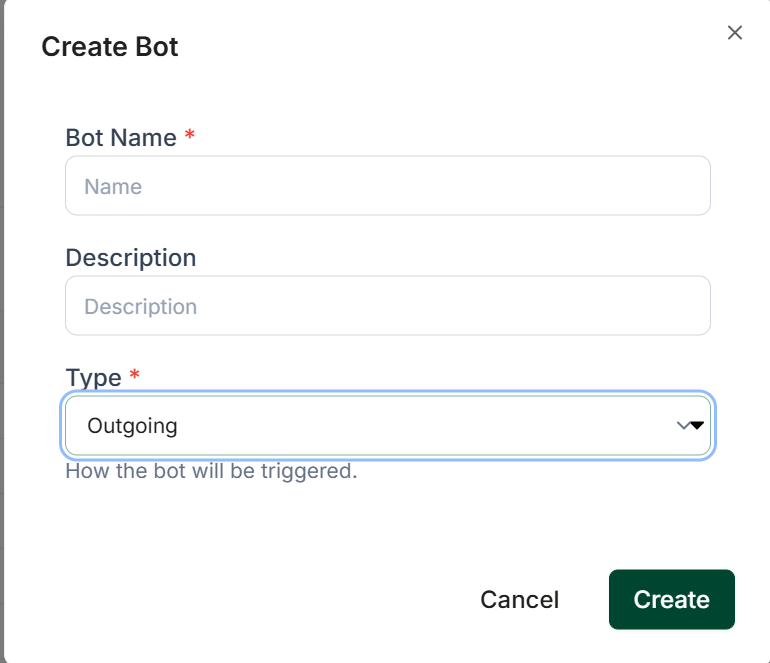
Click New Bot, enter a name and description for your bot, and select Outgoing as the bot's type.
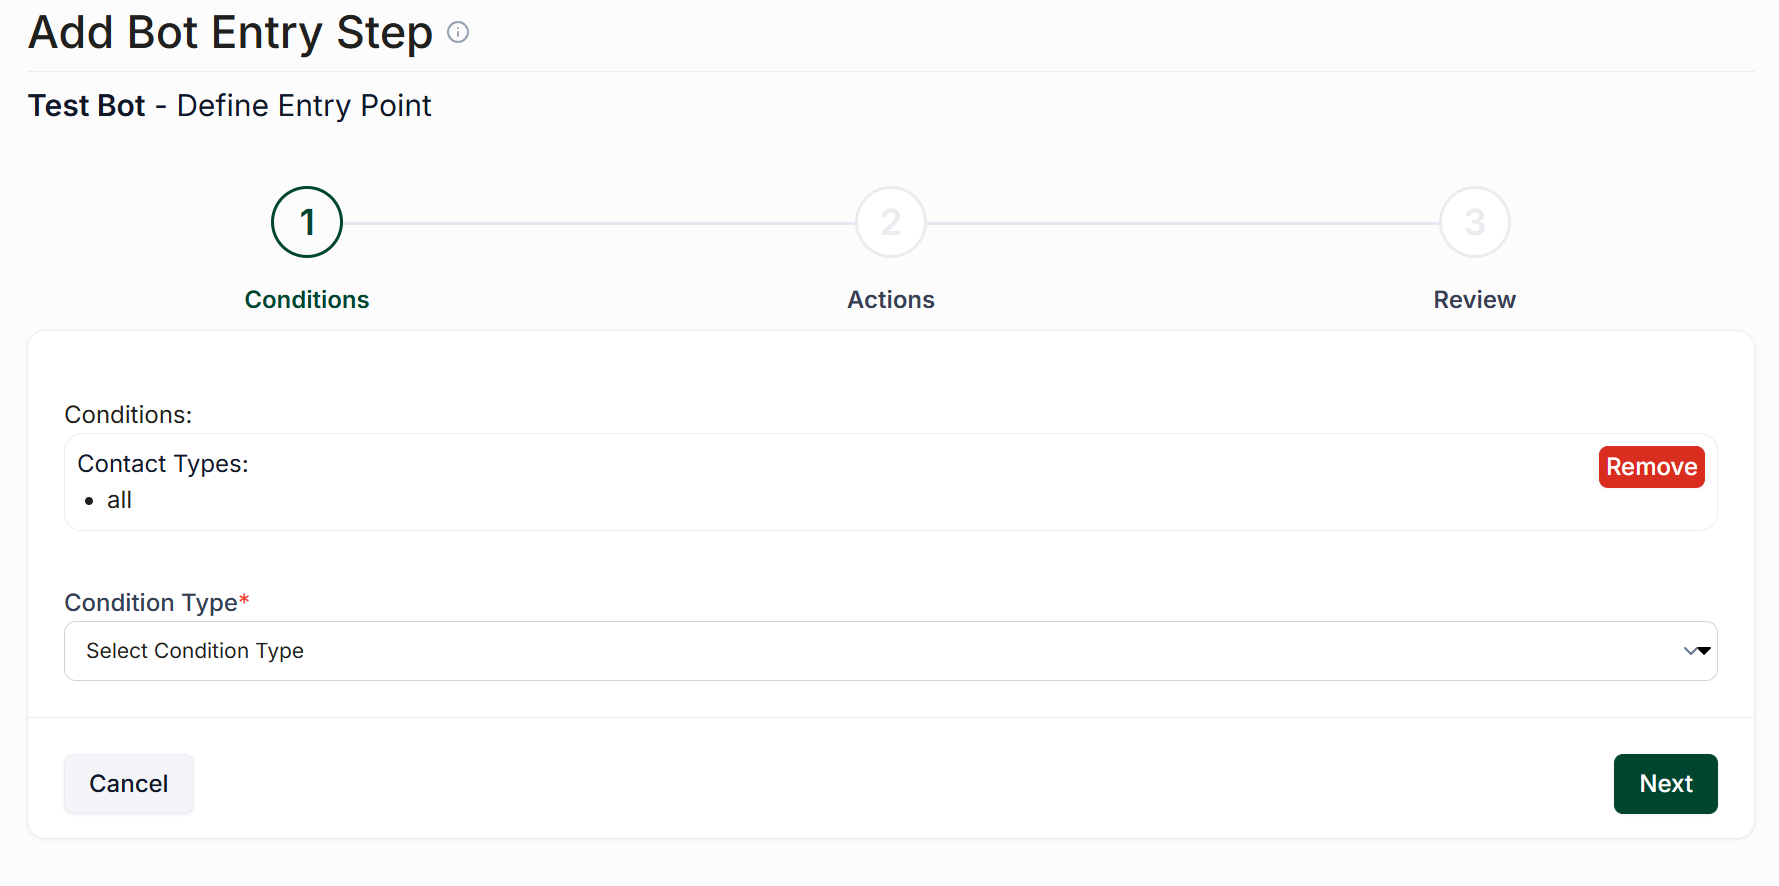
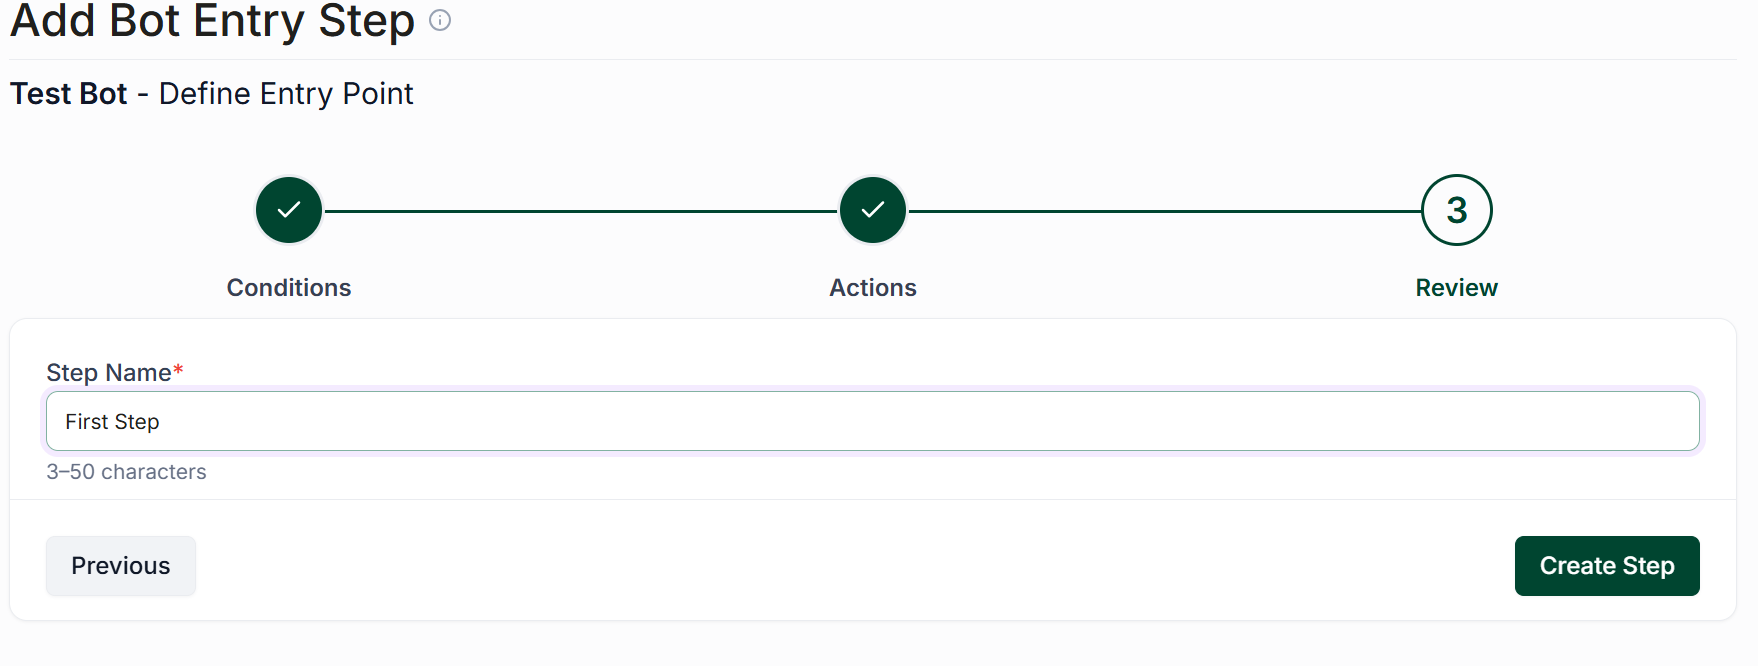
For your bot's first step, set the condition to Contact Type and the contact type to All. Add the desired action, such as sending a link to a survey after an appointment.
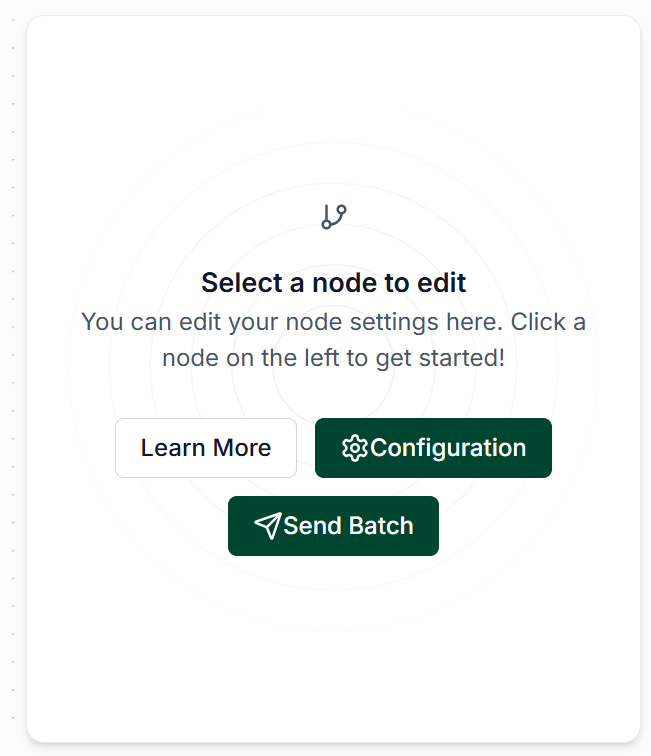
Name your step and finalize the setup. Click the gear icon labeled Configuration on the initial bot and then click Activate Bot.
Firing Outbound Bots
Once your outbound bot has been created, there are multiple methods to trigger it.
Manual Triggers
Manual triggers provide another primary method for activating outbound bots. There are two main approaches to accomplish this:
Sending out in bulk: Click Send Batch from the bot configuration screen and choose either Standard or Mass. The Standard option allows you to select each individual recipient, while Mass sends the bots based on tags and segments.
Sending to and individual: Navigate to an existing conversation, click the Send Bot button underneath the input area, select the outbound bot to trigger, and click Send.
Bot Attached Triggers
One way to trigger an outbound bot is by connecting it to a separate trigger bot. To do this:
Create an inbound bot and assign a step to Schedule Outbound Bot.
Select the outbound bot you wish to schedule and specify the delay after the trigger is fired.
For more information on creating inbound bots, please refer to the following articles:
